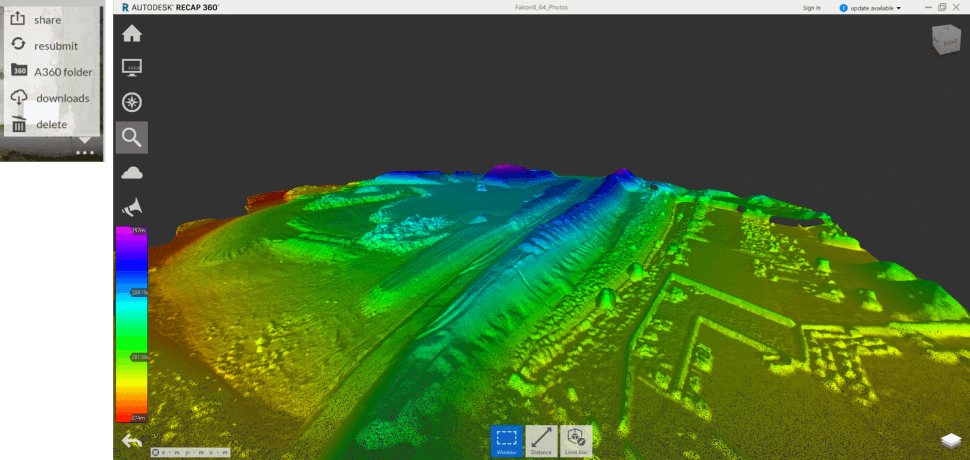
Basic workflow
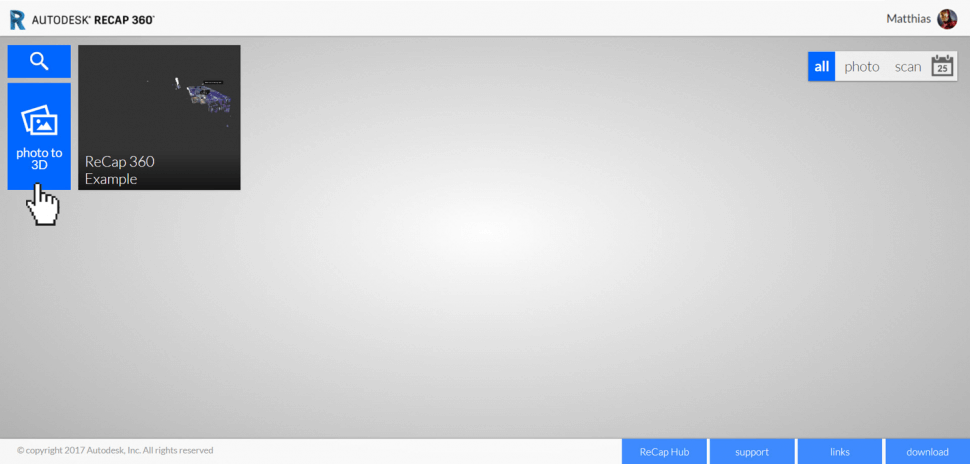
- Access Recap 360 website
- Sign in to your account
- Click on photo to 3D
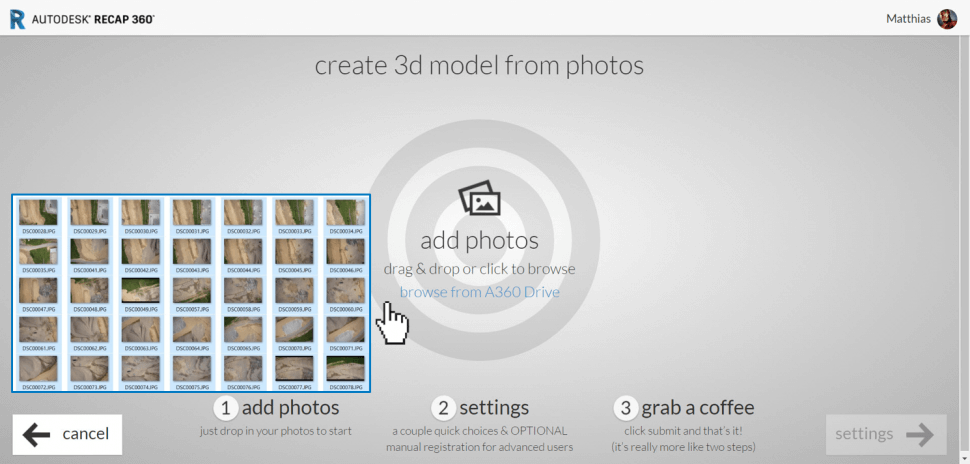
- Drag and drop photos from Windows Explorer
- Or browse them from A360 Drive (Cloud storage)
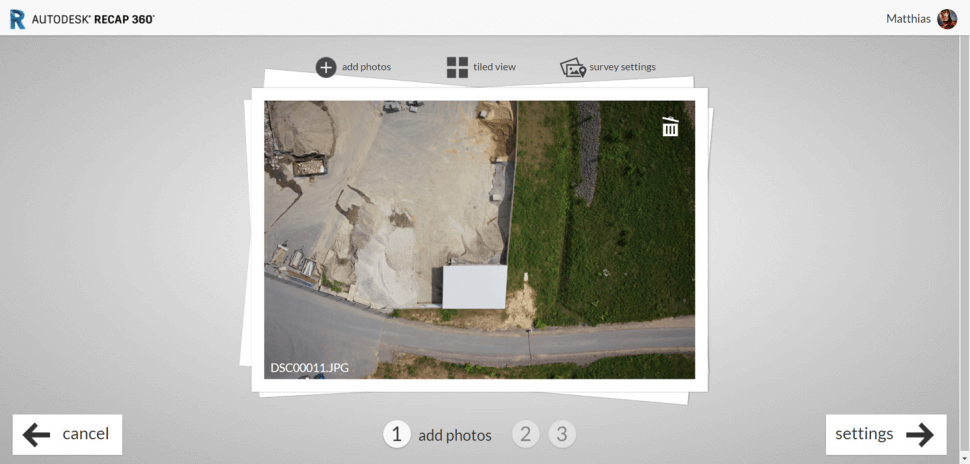
- Review photos / overview
- Option to add and delete photos
- Additional survey settings for adding control points and scale
- Survey settings
- Locate control point markers on two photos
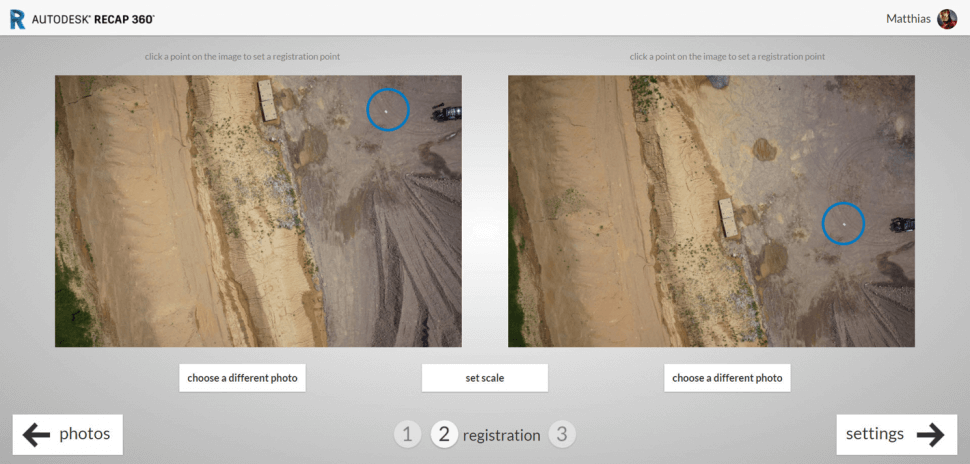
- Zoom into first photo and place point on marker
- Zoom into second photo and place point on the same spot
- Assign coordinates to point (Copy / Paste)
- Units must be METERS!
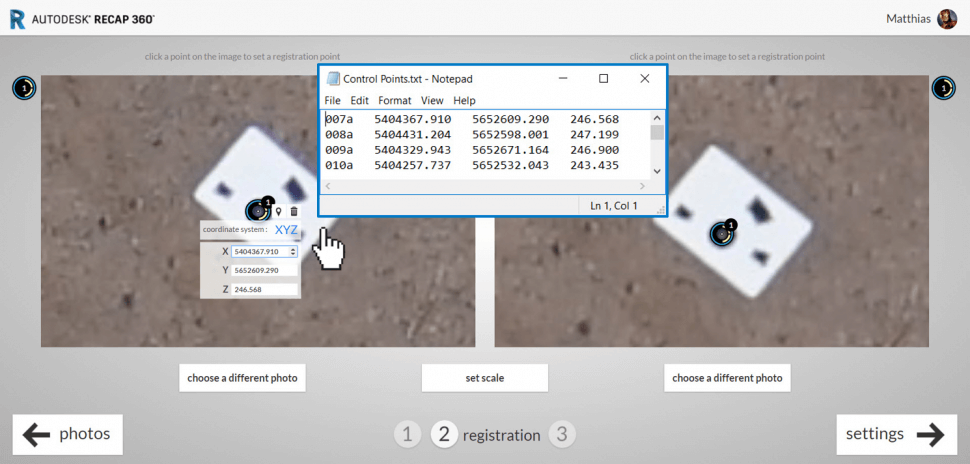
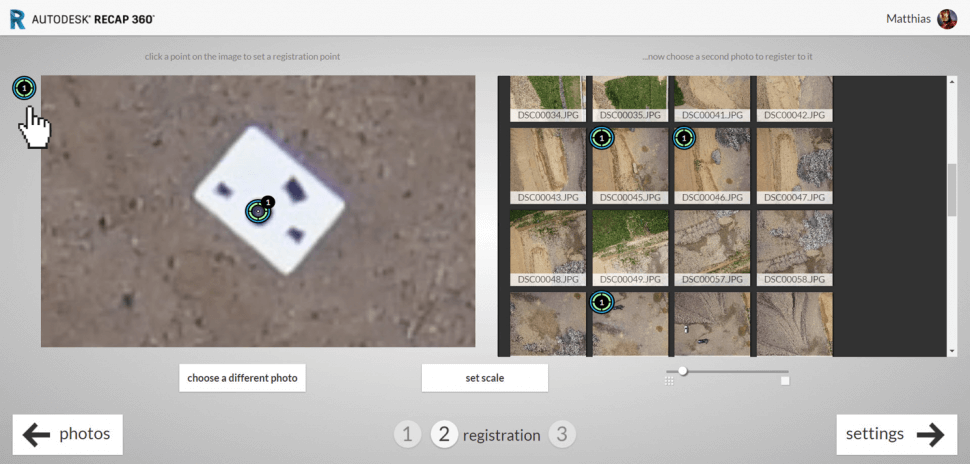
- Match at least 3 photos with the same point
- Point colour will turn green
- Add more control points (right click will populate another point number)
- Click on point next to photo to use existing point number
- Click on settings
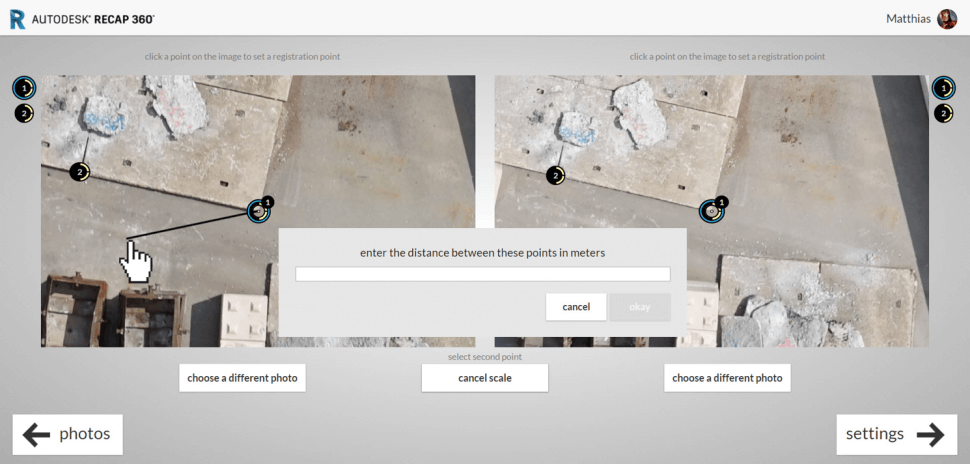
- Optional: Set scale
- Stitch two known points on at least 3 photos
- Click set scale
- Click on the two points
- Enter known distance
- Click on settings
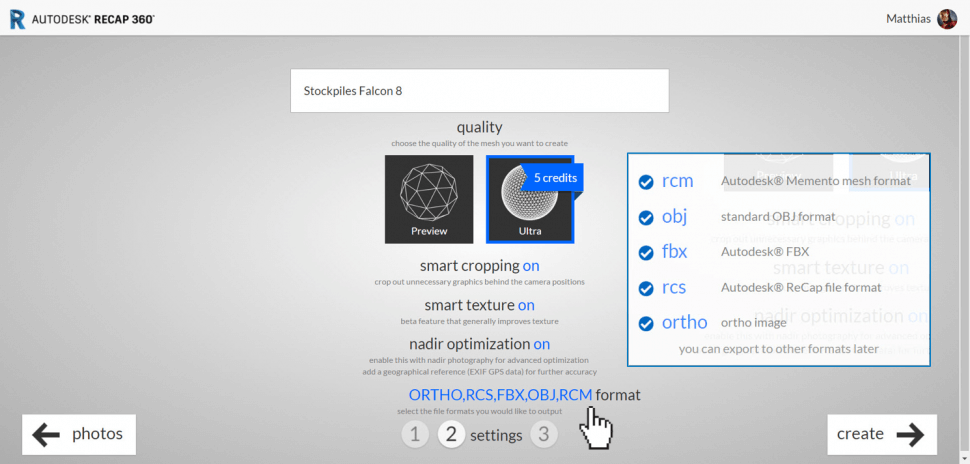
- Enter project name
- Select Ultra mode (5 credits)
- Specify production settings
- Specify output formats
- Click create
- Photos will be uploaded
- Model creation will be processed in the cloud
- Email notification when project is finished

Results
- ReCap 360 web viewer
- 3D view
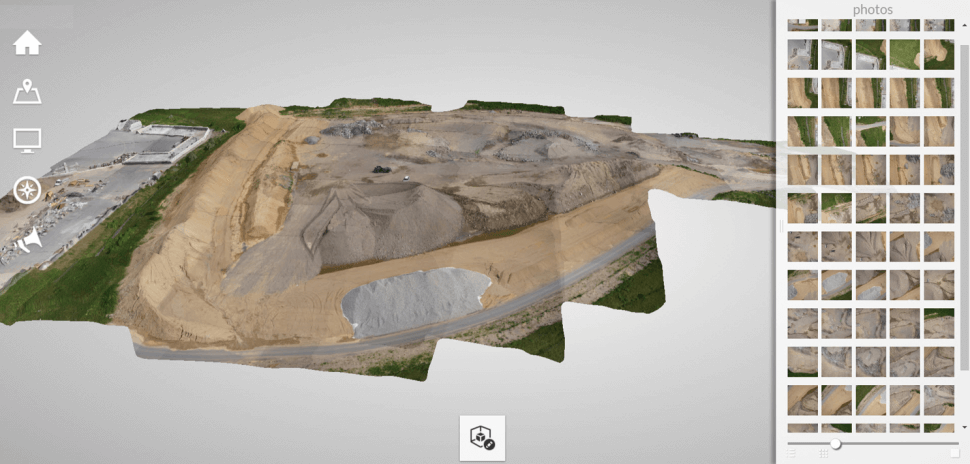
- ReCap 360 web viewer
- Map view
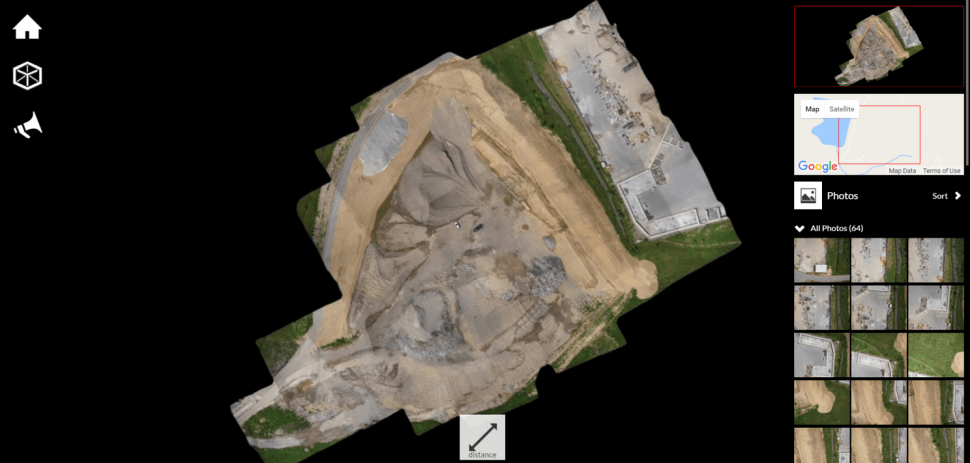
- ReCap 360 desktop version
- Download *.rcs file
- Elevation mode
