Creating an Instrument Profile in eGPS
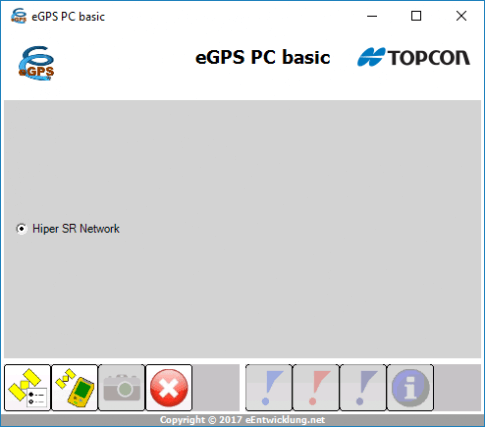
- Tap on the eGPS icon to start the software

- The eGPS home screen will open
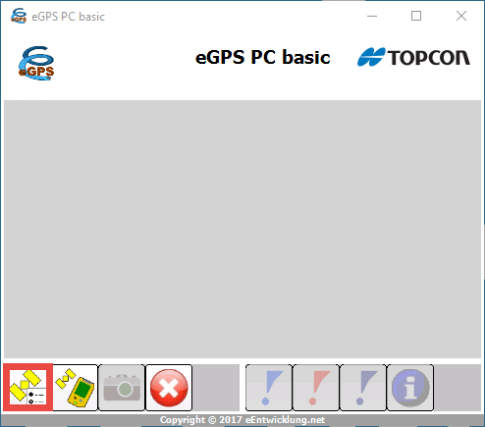
- Tap the eGPS Options icon
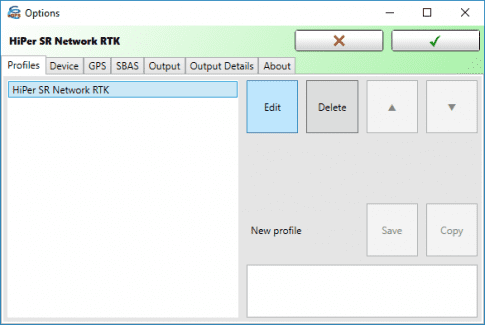
- The Profiles tab will open
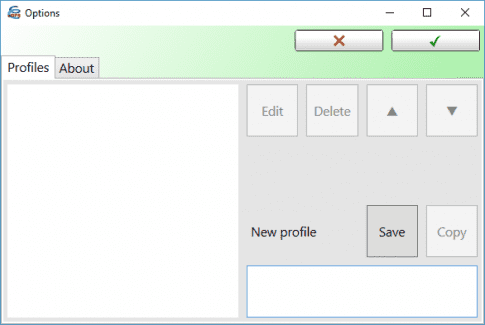
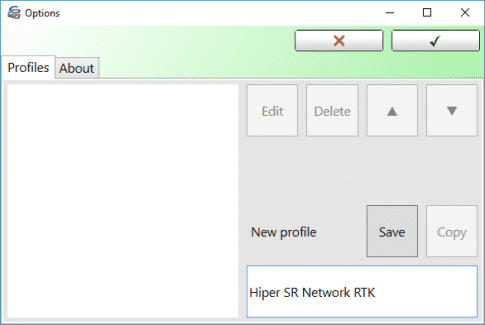
- In the New Profile text box, enter the name of the Profile you want to create
- Select PC version
NOTE: A good naming convention is to use the name of the Receiver as the name of the Profile
- Select the Profile you created
- Tap the Edit button
- The Profile is ready to be modified
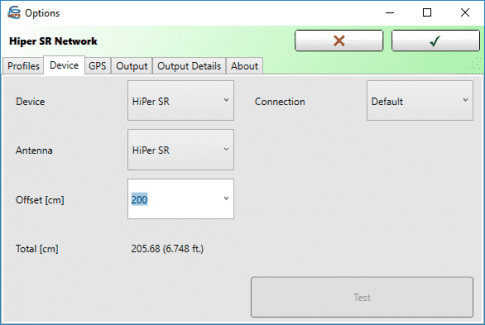
- Tap the Device tab at the top of the screen
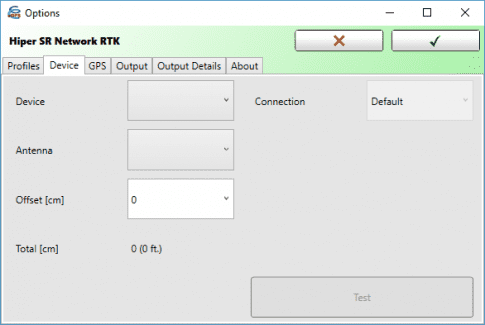
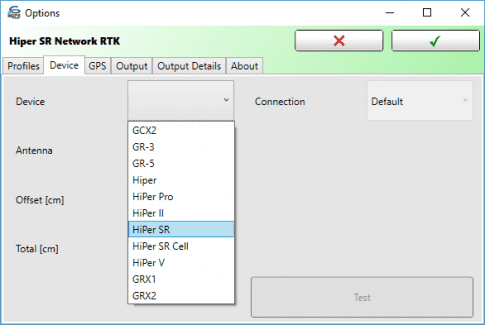
- Select the Device drop-down arrow
- Select the receiver you will be using
- The correct antenna will be populated in the Antenna drop-down box
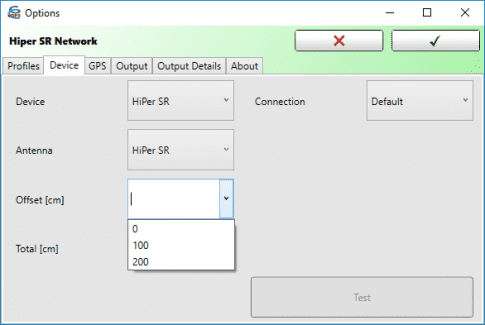
- The Offset [cm] value is the height of the rod / pole the receiver will be mounted on, in centimeters
- The drop-down has default options of 0 cm, 100 cm, or 200 cm, or a custom rod height can be entered manually
- The Total [cm] value includes the value for the receiver Antenna Reference Point or ARP
NOTE: The value for the height in feet is also displayed
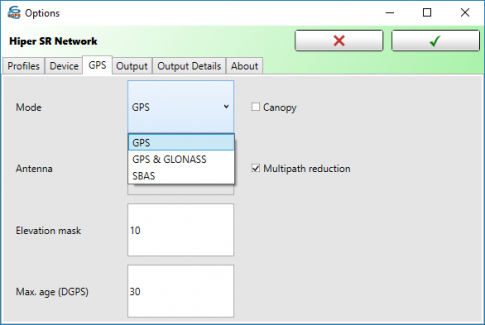
- Open the GPS tab at the top of the screen
- Select the mode you will be using, which is based on your purchased options
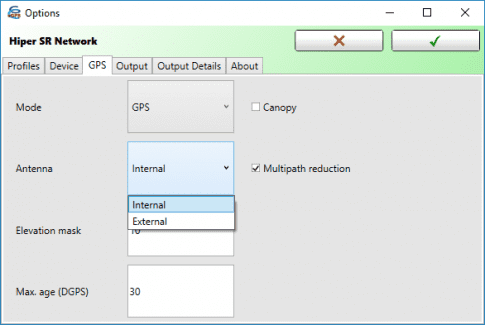
- Choose an Internal or External Antenna type
- By default, the values for Elevation Mask, Max.age (DGPS) and the Multipath reduction box are checked
NOTE: The External antenna should only be chosen if using the internal receiver in a data controller with a separate GNSS Antenna
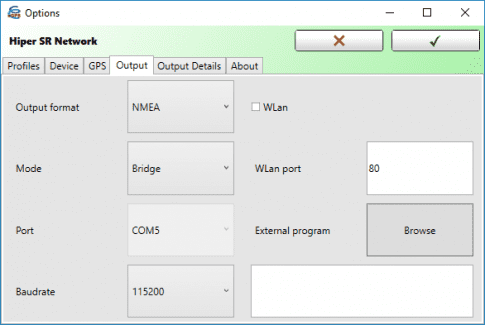
- Open the Output tab at the top of the screen
- Select the Output format
- Set the Mode to Bridge
- Port should default to the virtual COM port created upon installation, if not, select the correct COM port
- Baudrate should be left to default parameters unless third party software dictates otherwise
- Use the External Program button to browse to and select the third party application being used
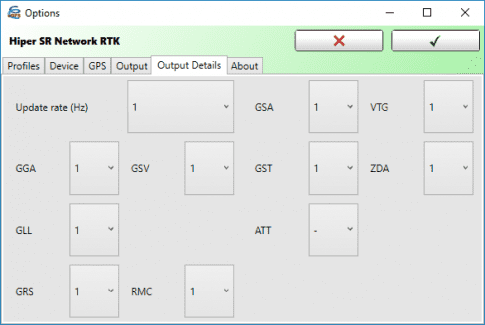
- Open the Output Details tab at the top of the screen to review the setting information
- Leave all settings at default unless third party software dictates otherwise
- Select the Green Check Mark to apply and finalize the Profile
- The Profile is now complete and available for use.