Getting Started
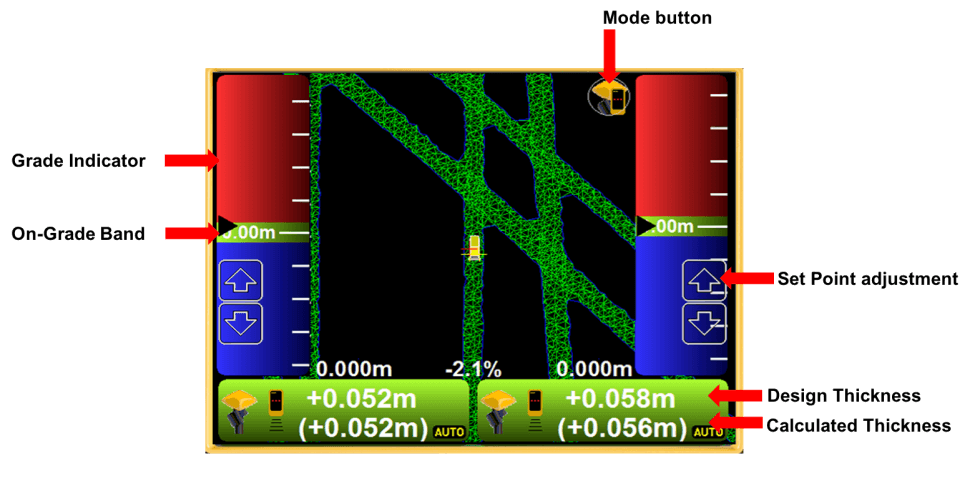
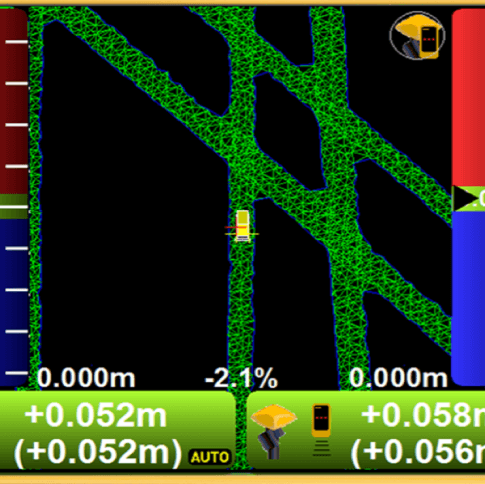
Sample screen:
Loading Project Files (TP3)
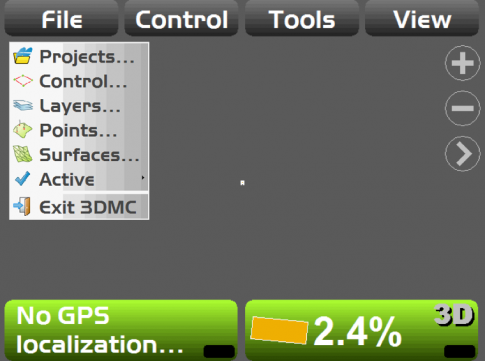
- Without a Localized TP3 project, the control box will not display any surface information and a “No GPS Localization” message will appear.
- To load a project file, access the main menu.
- On a GX60 select the Topcon icon in the upper right-hand corner of the screen.
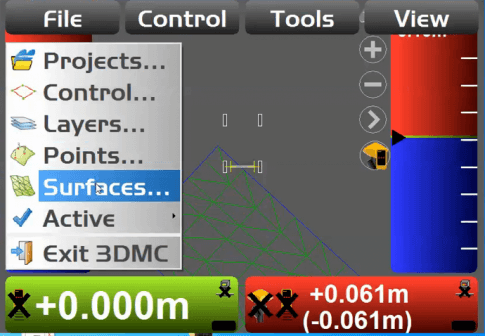
- After inserting the USB, select the Projects option under the file tab
- Under the “Project Files” menu select COPY to copy the project from the USB into the Topcon control box.
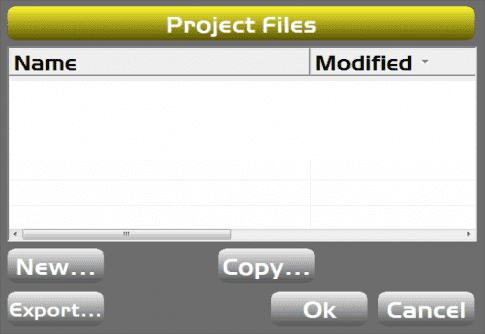
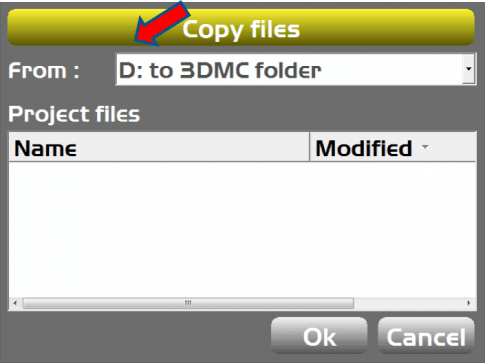
- Using the menu pull down in the “From” menu select: “D: to 3DMC folder”.
- All available projects from the USB will be displayed.
- Select your project and select OK
Selecting Available Surfaces
- Project files will have Design surfaces and Scanned surfaces depending on how the engineer designed the project.
- Selecting the SURFACES menu will display all the surfaces within the project.
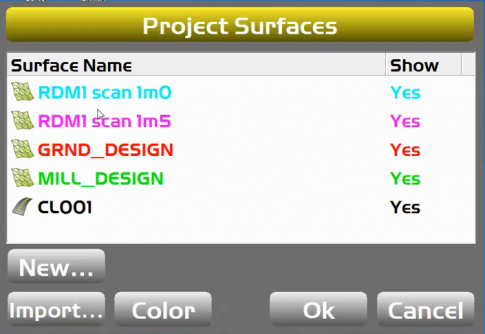
- On the Project Surfaces screen all available surfaces within the project will be listed.
- The icons under the Surface Name indicate the type of surface (Tin/Alignment).
- Select a Surface and then select Show to make that surface available to use on the project.
- If “No” is selected under the Show column the operator will not be able to grade to that surface until it is changed to “Yes”.
Selecting Active Design Surface
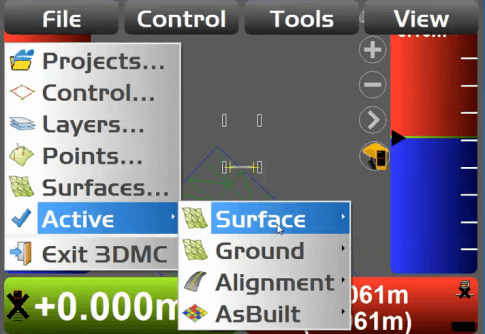
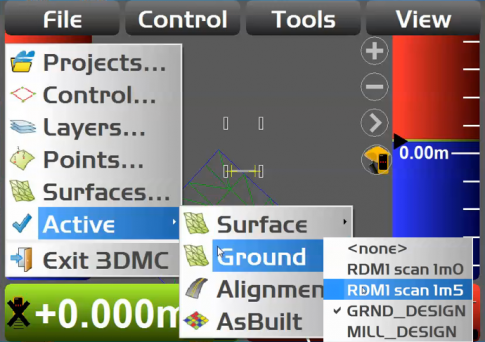
- Under the “Active” Tab the operator can select which surface will be the active surface (Tin/Alignment).
Selecting Active Ground Surface
- Select the proper working surface.
- Activate the Working and Ground Surfaces.
- The ground surface is the existing Scanned surface.
Grade Indicators
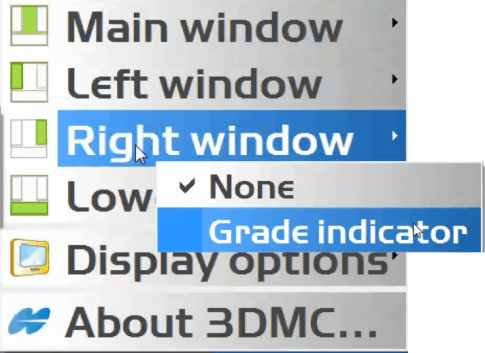
- It is important that the Grade Indicators are enabled for both the left and right sides.
- From the Main Menu select View Tab
- Select the Left and Right Windows and Switch to Grade indicator.
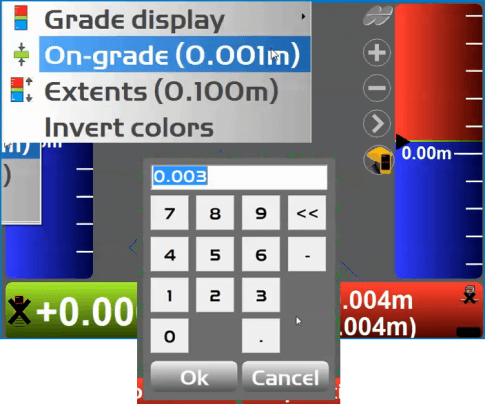
- After the grade indicators are active, touch and hold on the indicator to open the indicator menu.
- Set the On-Grade band to the minimum value (.01’ or 0.002m).
Increment Decrement Buttons
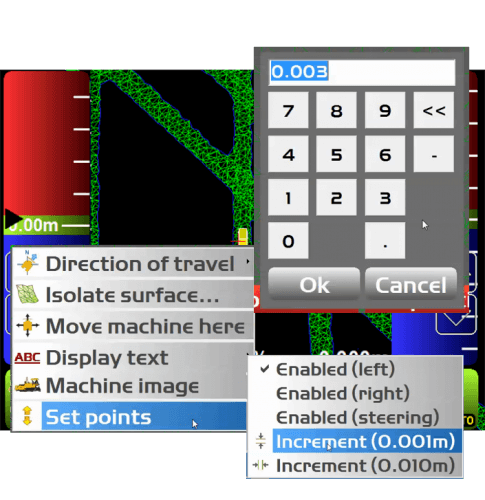
- Press and hold on the main portion of the screen. Select <Set Points> from the displayed menu.
- Enable both Left and Right Set Point buttons.
- Adjust the Increment field to the Minimum value (0.01’ or 0.001m).
Mode Selection
- Select the Mode button from the Main Screen view.
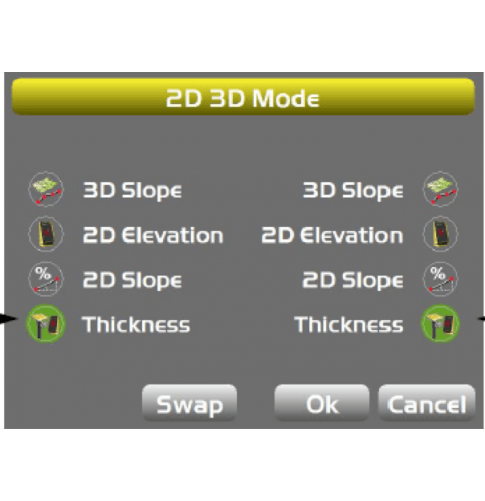
Mode Screen
- Select the Thickness mode on both the Left and Right sides.
- This will allow for use with the 3D design.
