Basic setup in Autodesk Revit
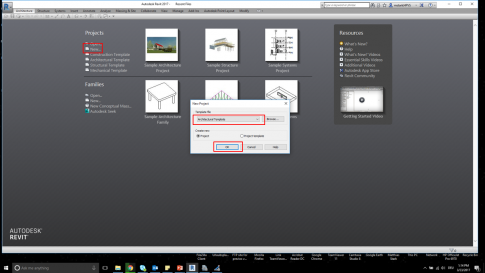
- Start Autodesk Revit
- Create a new project
- Select Architectural Template as template file
- Select OK

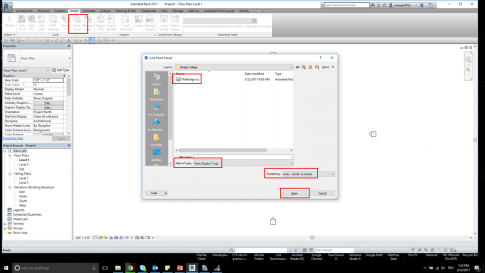
- Select Insert
- Select Point Cloud
- Set Files of type to *.rcs
- Browse to point cloud and select Open
Positioning is set to Auto – Center to Center. This means the insertion point of the point cloud matches the local origin of the Revit project

- Select 3D view and check the imported results
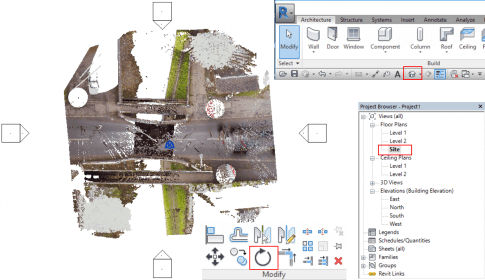
- Select the Project Browser and double-click the Site view
- Click on the point cloud
- The Modify group will appear on the ribbon
- Select Rotate and rotate the point cloud to get a horizontal orientation

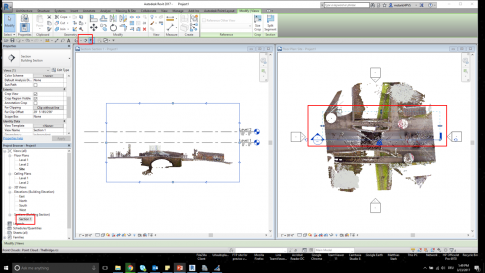
- Create a horizontal Section in the middle of the point cloud
- Adjust the Far Clip Offset of the section to see the extents of the bridge
- Go to Project Browser and double-click Section 1 to display

- Adjust your levels to match basic elevation levels of your point cloud
- Go to Architecture -> Datum -> Level to create additional levels, if needed
