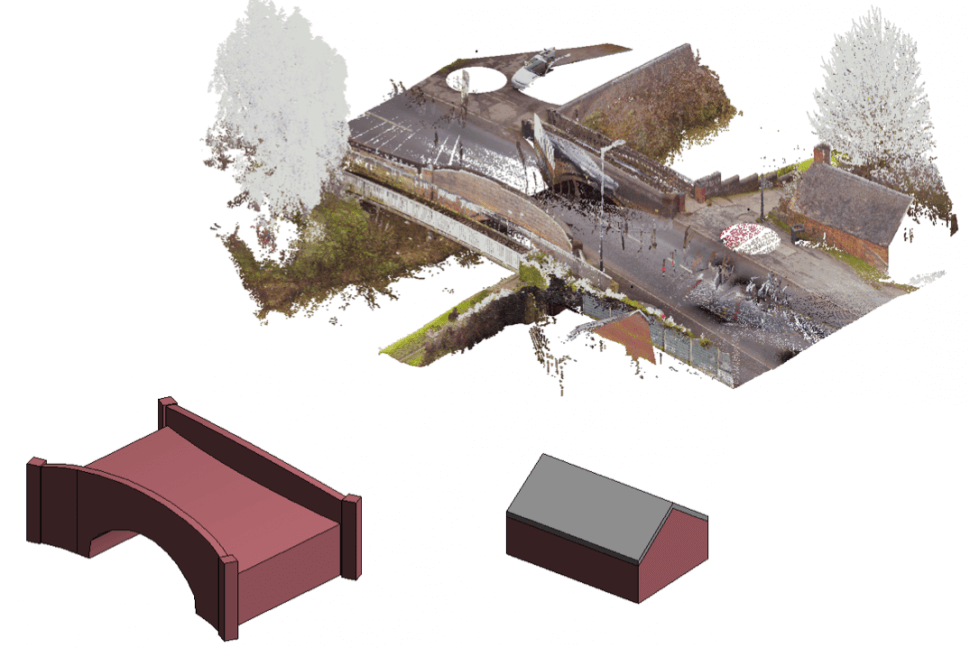
Data Overview
- Typical GLS project with difficult access
- Registered using cloud-to-cloud
- Geo-referenced to IP-S3 data
- Map view allows pan and zoom with the mouse
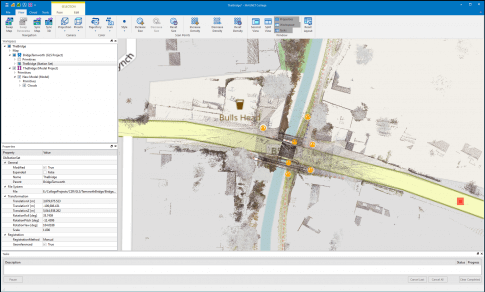
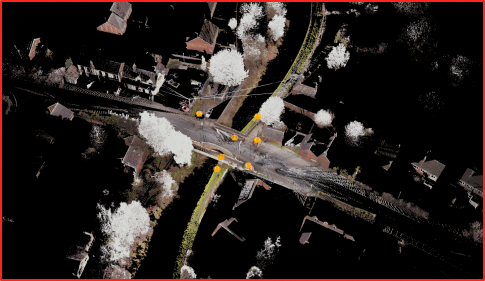
3D View
- 3D View enables rotation, pan and zoom
- Mouse controls can be mapped in the Application settings
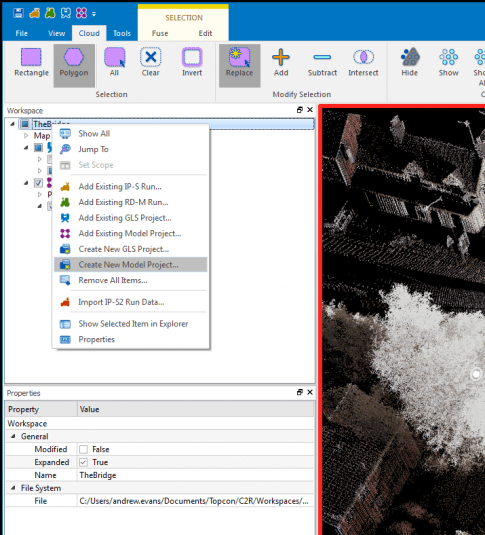
Create a Model Project
- Right-click Workspace
-
Select Create New Model Project for:
- Combining clouds from different sources and combining scans to create a single unified cloud
- Creating cloud selection for export
- Importing third party clouds
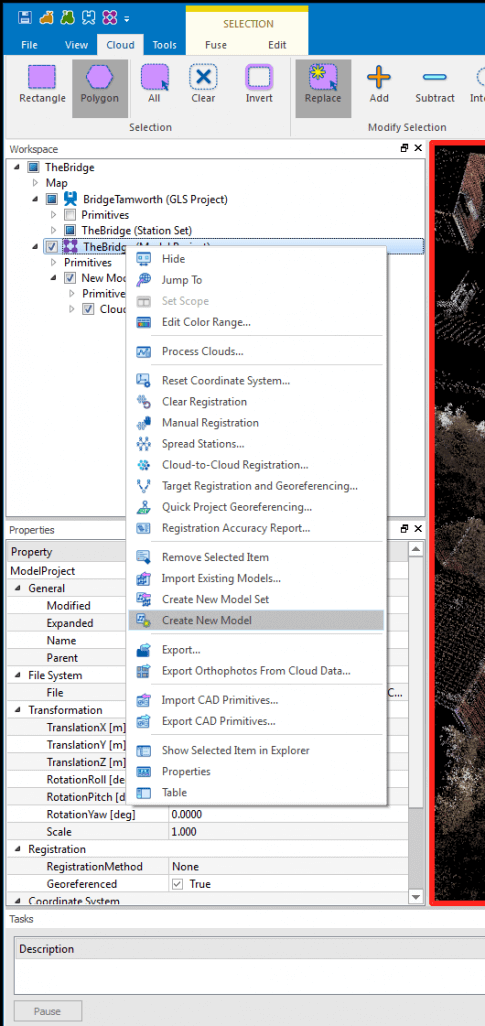
- Right-click on the Workspace name to create model project
Create a Model
- Model projects need Models to place new creations or import third-party clouds
- Right-click on your Model project to Create New Model
Select Point Cloud for further processing
- Use the Cloud menu to access selection tools
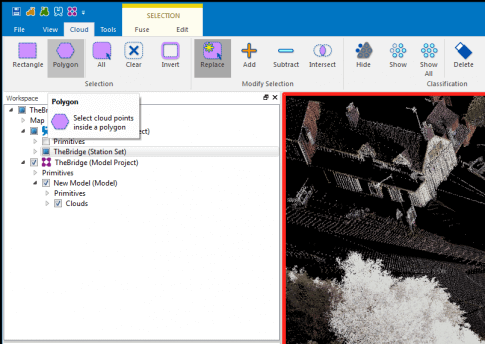
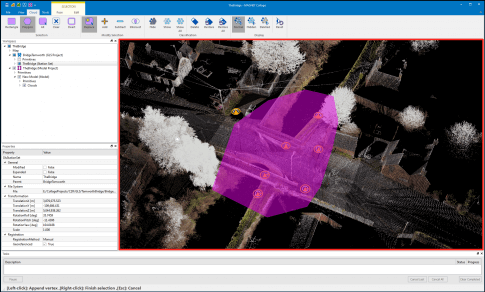
- Command prompts are at the bottom left of the app window
- Selected points are highlighted
- Selection is maintained until cleared
- Selection Complete
Create the Cloud
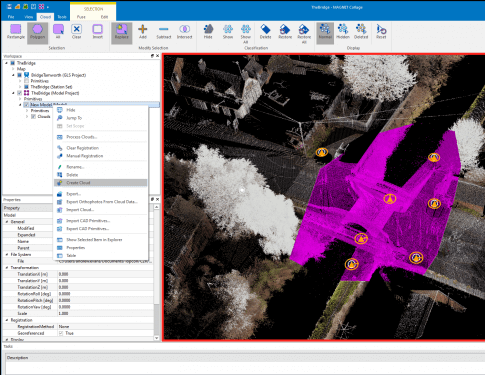
- Right-click Model and select Create Cloud to make use of selected data
- Cloud creation will allow you to set the density and precision of the cloud
Export the Cloud
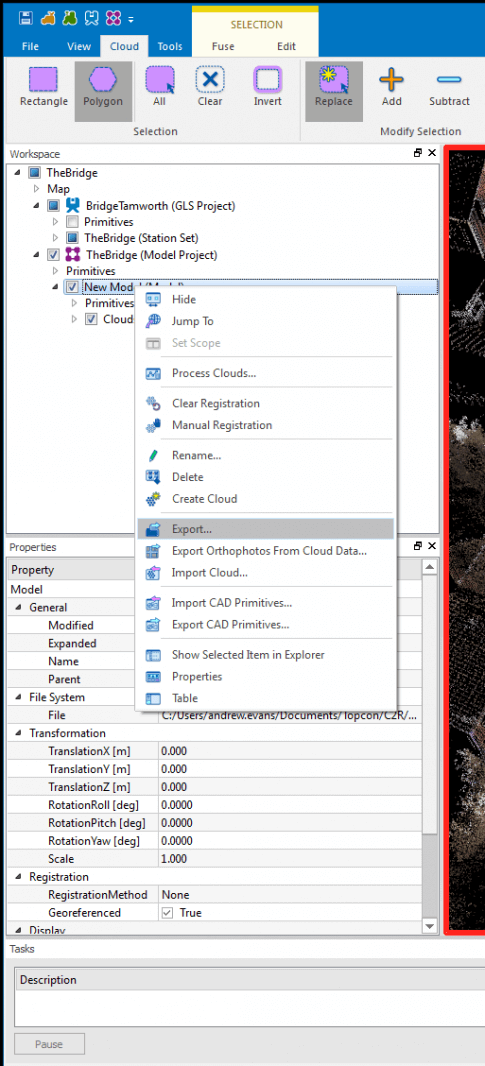
- Right-click on the Model to access the Export dialogue
- You can choose to edit the cloud with the cloud tools
- Or Export as-is and use third-party software to control cloud visibility and usability
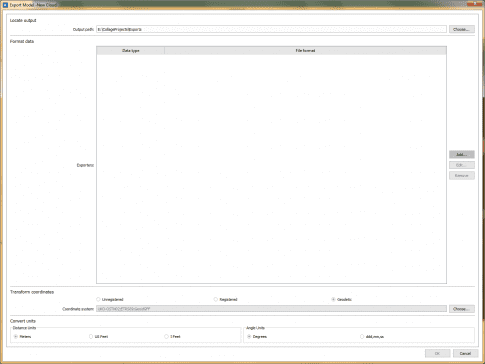
Export Settings
- Set File location
- Add exporter (format data)
- Define Coordinate transformation if required
- Export the cloud
Result
- Data modeled in Revit
