What are tasks?
-
In Sitelink3D Enterprise, a task can be defined as a phase of construction that a machine or survey rover may be involved in.
- Mass excavation, finished grading or site leveling are examples of what a task may be defined as.
- Tasks can be as large (E.G: earth moving) or as specific (E.G: paving lane 1, lift 1) as needed.
- Sitelink3D Enterprise can track these tasks and give real-time progress reports for each task.
- Creating tasks properly is critical to generate accurate reports with Sitelink3D Enterprise.
- Please refer to the guides Sitelink 3D: Creating Regions and Sitelink 3D: Creating As-Built Layers.
Creating a Task
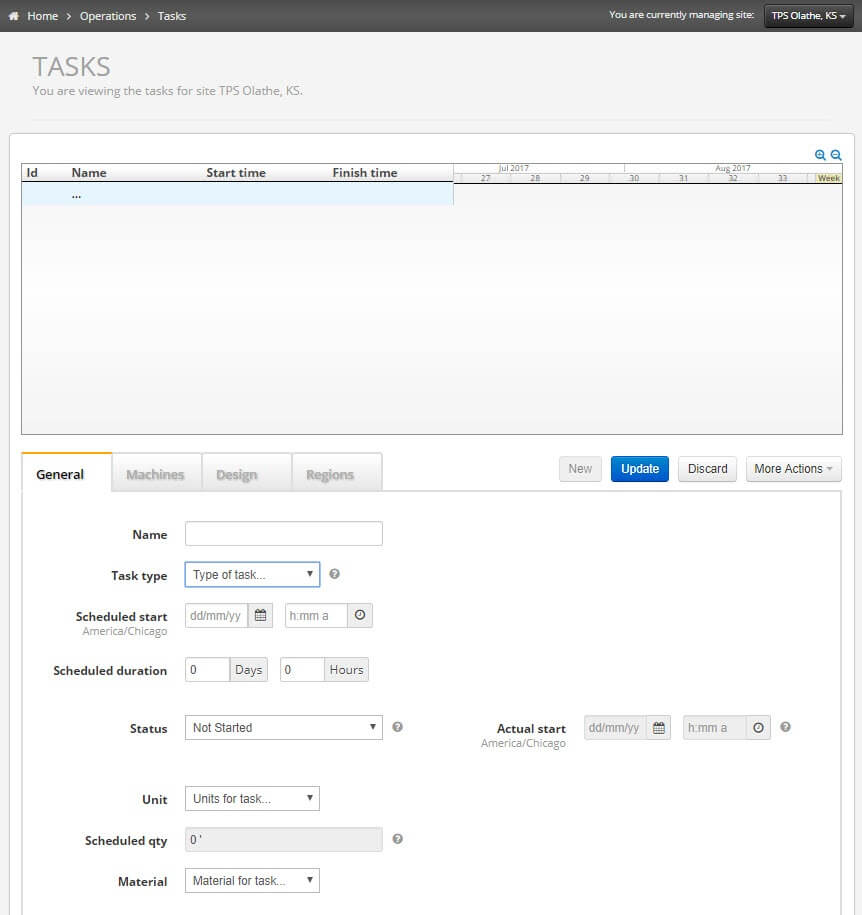
- Go to Menu > Operations > Tasks.

-
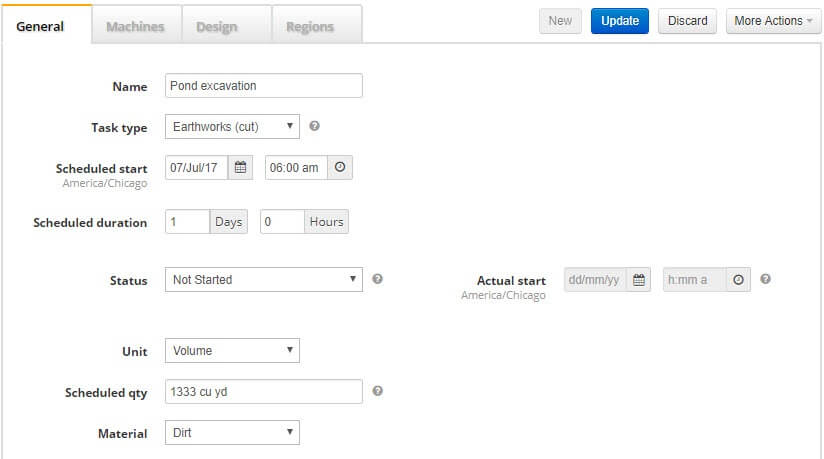
The General tab contains information about the task:
- Name.
-
Task Type:
- Earthworks (records all elevation data)
- Earthworks Cut (only records elevation data lower than the previous lowest point)
- Earthworks Fill (only records elevation data higher than the previous highest point)
- Compaction (records data for intelligent compaction)
- FInshed grading (records all elevation data)
- Scheduled start date.
- Scheduled duration.
- Status: not started, in progress, suspended, completed.
- Actual start date (automatically filled once a machine selects the task).
- Unit: area or volume.
- Schedule quantity.
- Material (materials for a site can be added under Menu>Site Management>Materials)

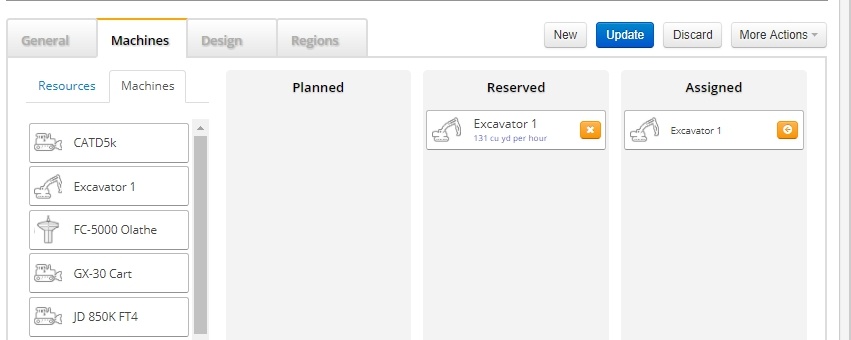
- Go to the Machines tab to assign tasks to specifc machines.
- Placing the machine in the reserved column will let the machine select any task that has been reserved for it.
- Placing the machine in the assigned column will make the machine automatically select the task. It does have the ability to change to any other reserved task at any time.

-
Go to the Design tab to edit the as-built layer and design surface being used in the task.
- Asbuilt layer: Choose a created as-built layer that data will be recorded to.
- Design Surface: Choose the design surface to be used in the task.
- Design surface offset: Apply a vertical offset to the design surface for the task being created.
- Automtically update the design surface: When changes are made to the design surface, those changes are automatically sent to the control box.

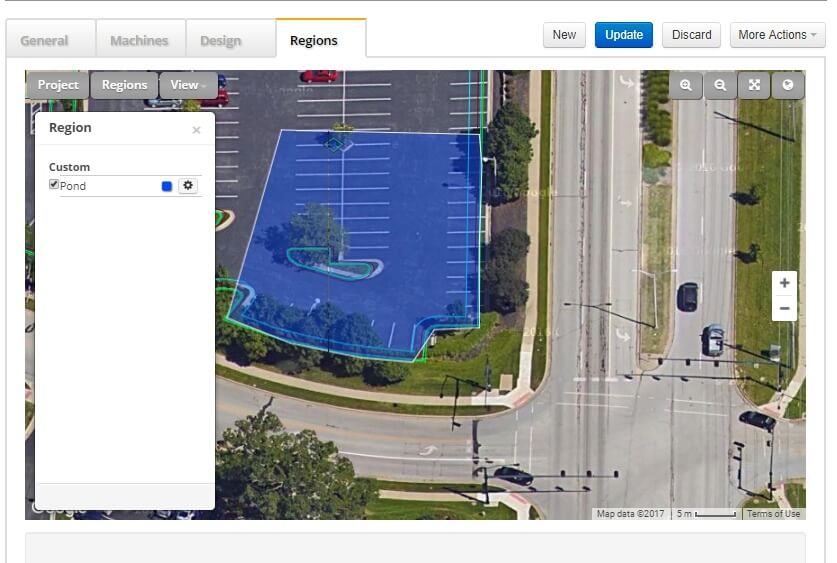
- Go to the Regions tab.
- Click on the Regions icon to select the region or regions that will be used for a task.
- Press Update to save the changes and have the changes sent to the control box.
