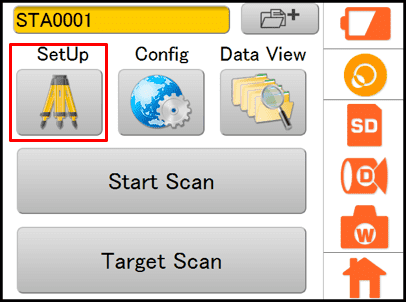
Access Setup Menu
- On Home screen, select SetUp button.
- The Setup screen shows the current scan position, the occupy name, height of instrument (IH) and backsight name.
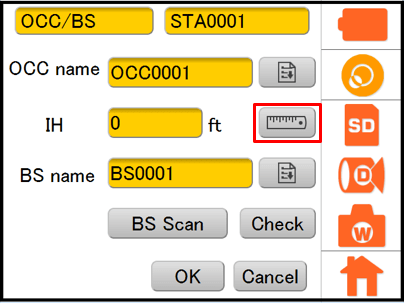
Define Occupy Location
- Set OCC name. This is the name of the control point that will be imported into ScanMaster.
- Touch Instrument Height button (shown in image)
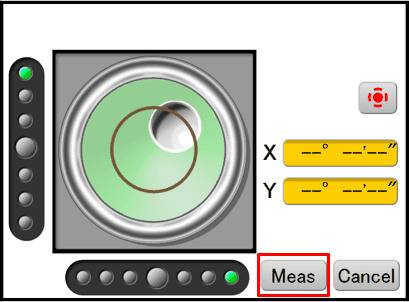
Measure Instrument Height
- Place reflective coin on top of the control point to measure.
- Checking for plumb, select Meas.
- The GLS-2000 will measure from the bottom of the instrument to the reflective coin to provide the correct height of instrument.
- The height will automatically populate the IH input field.
Define Backlight Location
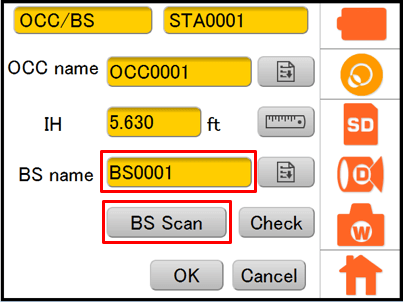
- Set BS name. This is the name of the control point that will be imported into ScanMaster.
- Next, select the BS Scan button. This has to be done to create a backsight scan
Aim to Backsight Prism Location
- After camera and servo calibration, the camera will show the video on the screen
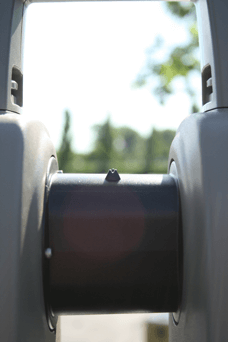
- There are peep sights on the mirror. Turn the instrument to the backsight and align the peep sights to the backsight point.
Define Backsight Settings and Zoom to Prism
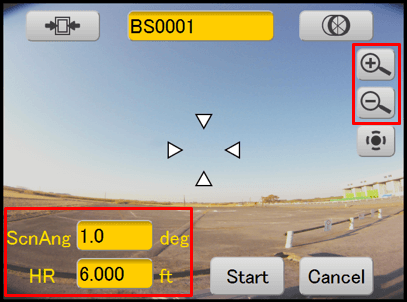
- Set the Height of Rod (HR).
- Set ScnAng – the angle in which the instrument scans through the target.
- Zoom in on the target. When close to prism, touch the target on the screen
- The instrument will turn to the target touched on the screen.
- Make adjustments by touching the screen.
Scan Backsight Prism
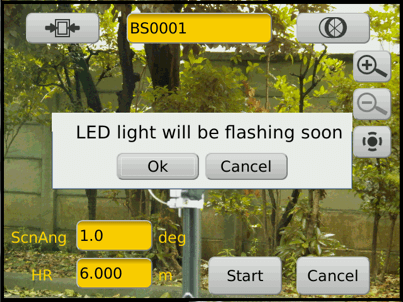
- Touch Start to begin the scanning.
- The message “Now detecting prism…” will appear.
- The GLS-2000 will then do an internal calibration
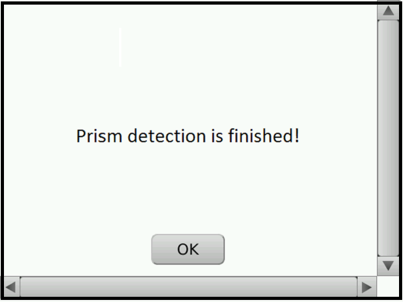
Backsight Scanning Completed
- Prism detection will finish
- Select OK
- "Are you sure you want to change 'job1' information?" will be displayed
- Select OK
