Loading Project Files (*.TP3)
- Without a Localized TP3 project, the control box will not display any surface information and a “No GPS Localization” message will appear.
- After inserting the USB Select the Projects option under the file tab.
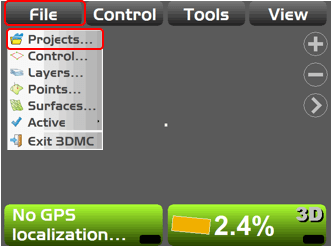
Selecting Available Surfaces
- Under the “Project Files” menu select copy to copy the project from the USB into the Topcon control box.
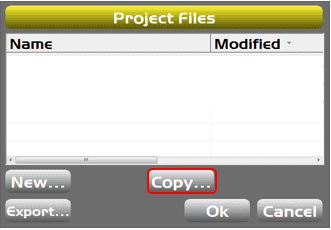
-
Using the menu pull down in the “From” menu select:
- GX-60 (A: to 3D-MC folder)
- GX-55 (USBHardDisk to 3D-MC folder)
- GX-30 (USBHardDisk to 3D-MC folder)
- All available projects from the USB will be displayed.
- Select the project and click OK.
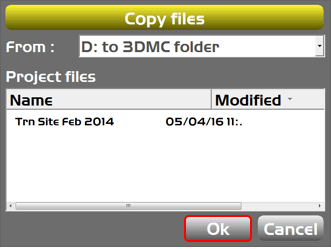
Selecting Available Surface
- Project files may contain a single surface or many surfaces depending on how the engineer designed the project.
- Selecting the “Surfaces” menu will display all the surfaces within the project.
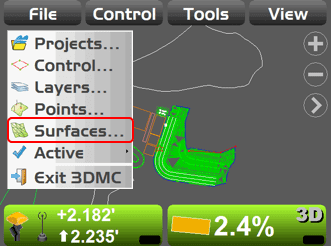
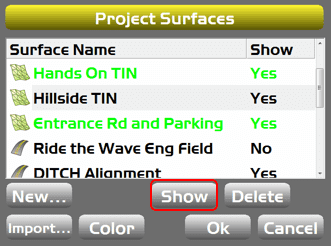
- On the Project Surfaces screen, all available surfaces within the project will be displayed.
- The icons under the Surface Name indicate the type of surface (TIN/Alignment).
- Select a Surface and select Show to make that surface available to use on the project.
- If No is selected under the Show column, the operator will not be able to grade to that surface until it is changed to Yes.
Selecting Active Surface
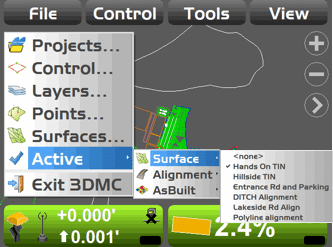
- Under the “Active” Tab, the operator can select which surface will be the active surface (TIN/Alignment).
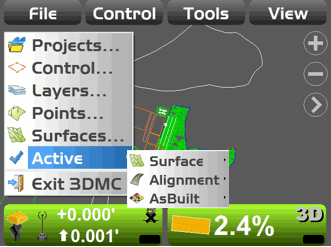
- Under each of the options, the operator can select which surface they would like to actively grade. In this example the “Hands On TIN” is selected.
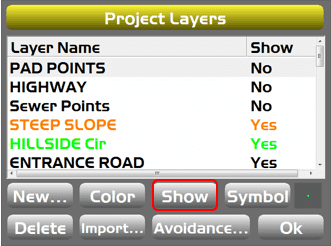
Turning on Layers
- Points and Line work are contained within “Layers”.
- Select the Layers option to view the available layers within the project.
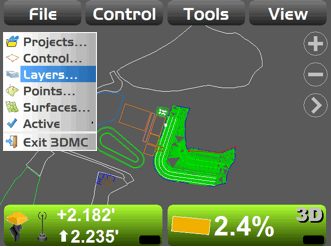
- To have the line work or Points displayed on the screen, select the layer and select show.
