Setting Cut/Fill Elevations
-
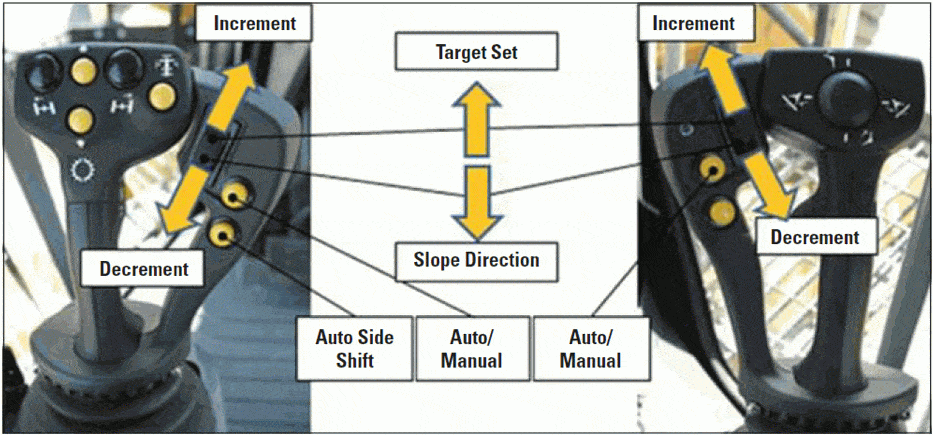
Adjusting your cut/fill values can be achieved in a few different ways depending on the type of machine your 3D system is installed on.
- Soft Key increment/decrement arrows on control box front panel.
- Elevation Control Button
- External increment/decrement buttons, if equipped.
-
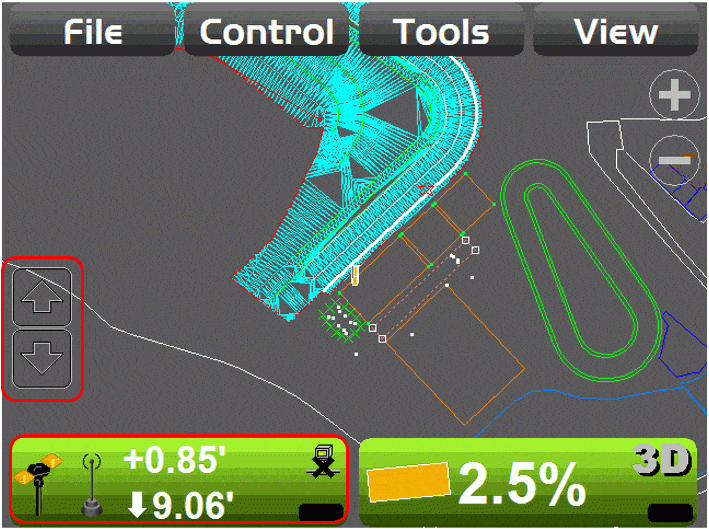
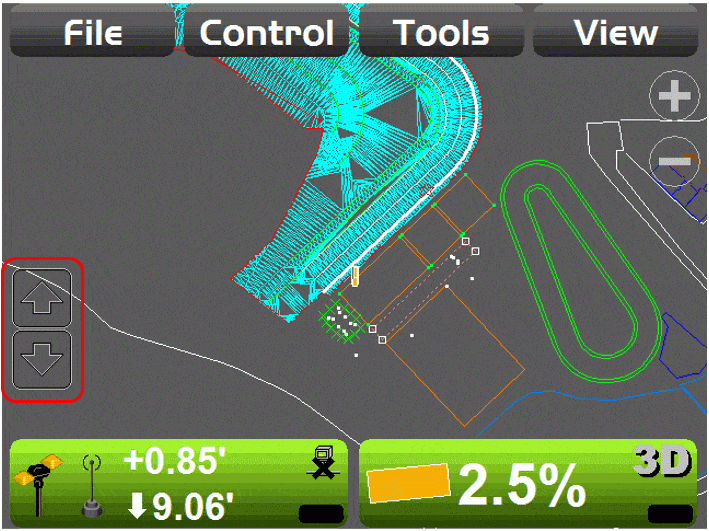
The increment/decrement soft key arrows must be enabled. The increment/decrement soft keys can be enabled on both the elevation and slope sides of the control box.
- Elevation soft keys can be programmed to change the elevation by any amount each time the arrow is touched.
- Slope soft keys can only adjust the slope value when the system is in 2D control.
-
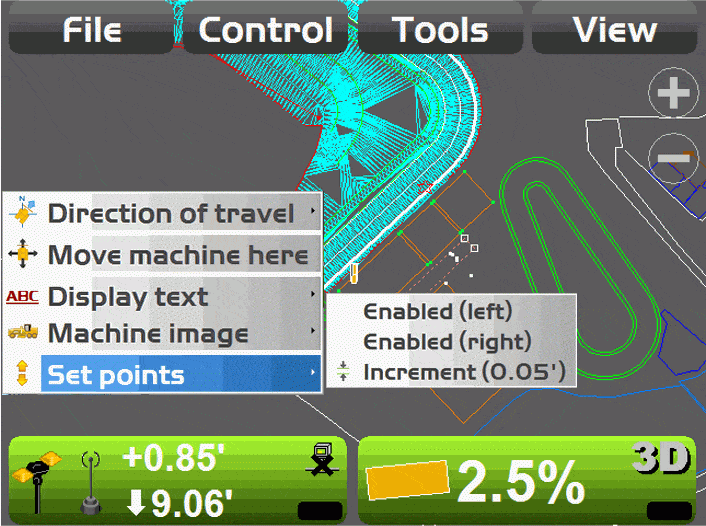
To enable the increment/decrement soft keys follow the steps bellow.
- Touch and hold your finger anywhere on the screen to bring up an additional menu.
- Select the Set points option.
-
Select to enable the Left/Right set points.
- The Increment option allows you to define the amount of elevation change each time the increment/decrement arrow is touched.
- The Increment option will also work if using external increment/decrement switches.
- The Increment option is for elevation only.
- To adjust your elevation offset through the Elevation Control Button touch the Elevation Control Button to access the Adjust Elevation screen.
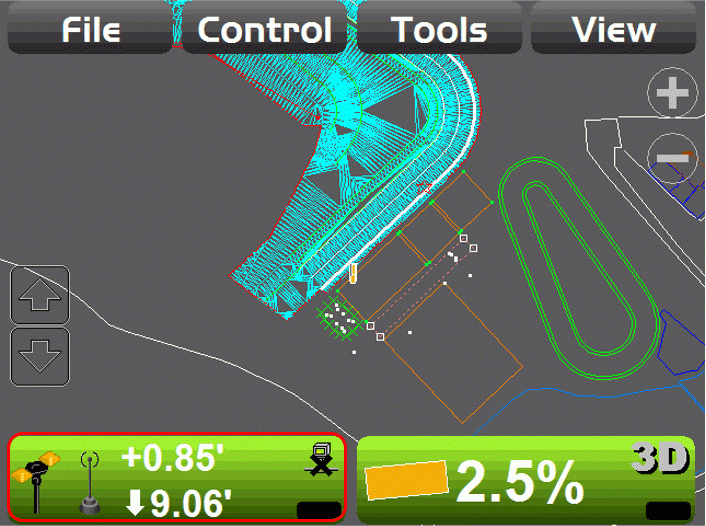
- Use the Elevation set point arrows to adjust your elevation offset.
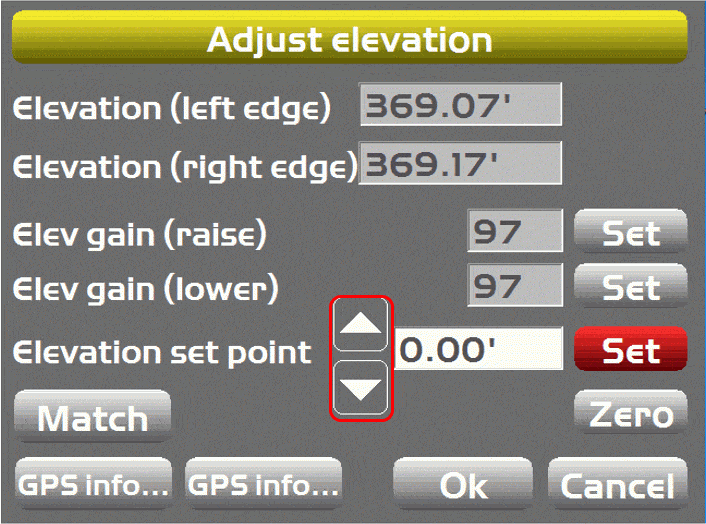
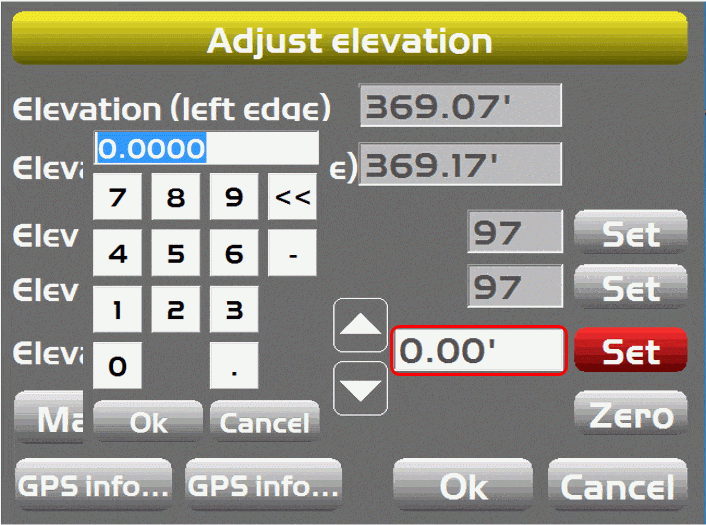
- Use the Set button then touch the elevation value box to bring up a Keypad where you can enter an elevation offset.
- If the machine is utilizing the OEM joystick buttons to control A/M and grade, then the operator will have a third option to adjust their elevation offsets