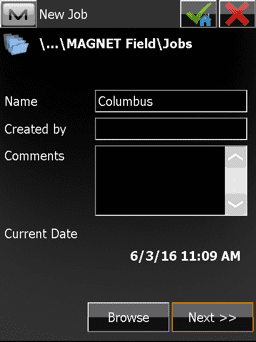
Access Job Menu
- Select Job >> New Job

Name New Job
- Give the job a Name
- Enter name or initials (optional)
- Enter any job comments (optional)
- Select Next
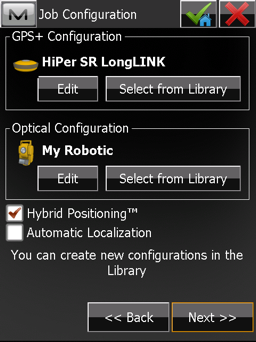
Select Equipment Configuration
- Confirm proper configurations are active, or Select from Library
- Checkmark Hybrid Positioning
- Select Next
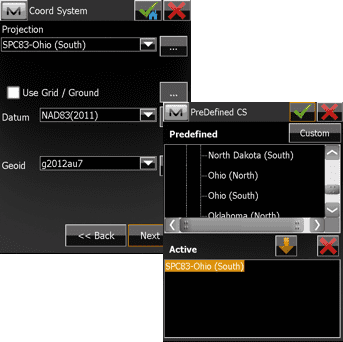
Configure Coordinate System
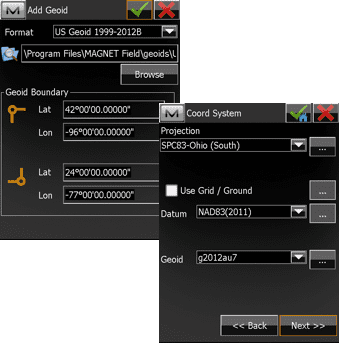
This exercise is going to use a projection and geoid for the coordinate system.
- To add a projection to the drop down select "..." button
- Under the pre-defined window navigate to the desired projection and select
- Select the down-arrow button to move the selected projection to the Active window
- Select green checkmark button to return to previous screen
- Choose the projection from the drop down
- Choose the desired datum
Configure Geoid
- Select "..." button to add a geoid model to the drop down list
- Select Add
- Choose the format for the geoid file
- Select Browse to navigate to the geoid files
- Choose the desired geoid file and select green checkmark button three times (3x)
- Select the added geoid model from the drop down list
- Select Next
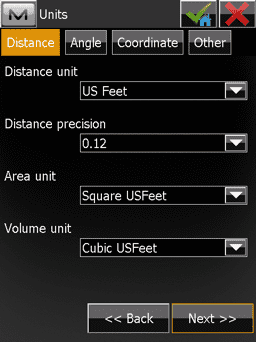
Configure Job Units
- Choose desired units and precisions for various data types
- Select Next
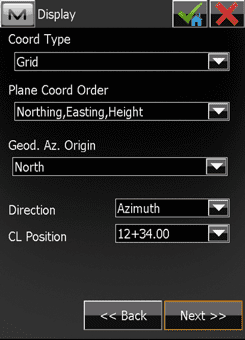
Display Options
- Select desired Coord Type to display
- Choose desired Coord Order to display
- Select green checkmark button to save configuration and open the created job
