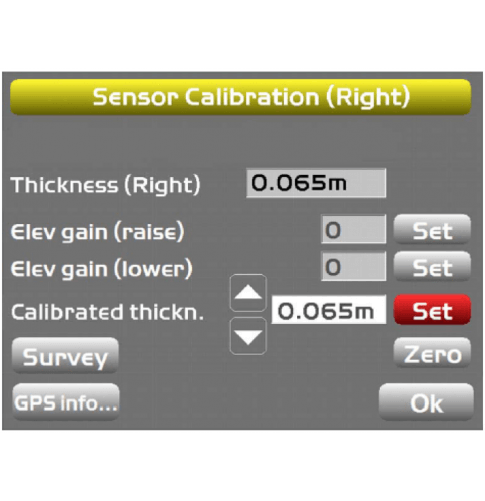
Profiler Control Options
- Unlike paving applications, entering the Cutting Head Control Menu when milling is not necessary. There are no values that need to be entered here.
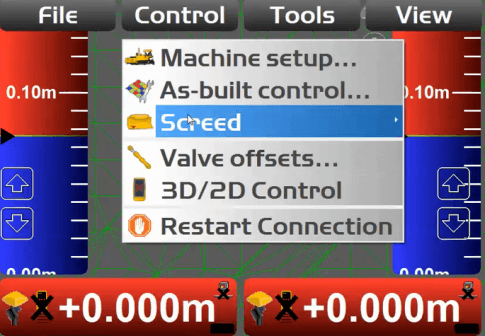
Profiler Sensor Calibration
- Begin by selecting the Green Status Bar from the main screen with a fixed position.
- The following steps need to be done for both the left and right sides if thickness is selected for both in the Mode screen.
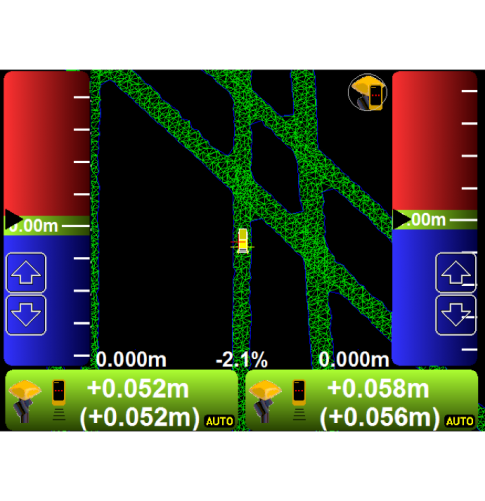
Profiler Sensor Calibration (Cable)
- While in manual operating mode (Auto Switch in the off position)
- Confirm drum teeth are barely scratching the surface.
- Select the Survey button.
- The Thickness and Calibrated thickness values will match.
- Select the Set button to lock in value.
- Plunge cut to depth.
- Switch to Automatic Control.
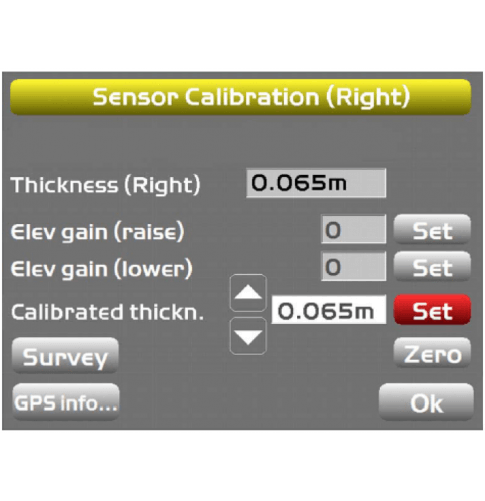
Profiler Sensor Calibration (Sonic)
- Confirm the Sonic Tracker is in the proper position.
- Paint a mark on the ground at the Tracker position and Survey the sensor at that location.
- The Survey value will appear in both the Thickness, and the Calibrated Thickness fields.
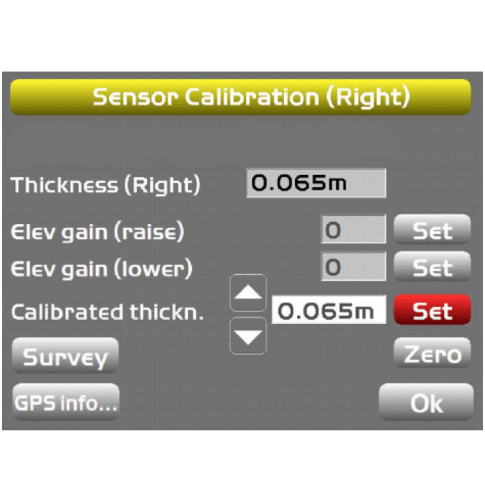
- While in manual operating mode (Auto Switch in the off position) plunge cut to depth.
- With a folding rule, measure the cut depth to surface where the sonic sensor was surveyed.
- Enter the actual cut depth value in the Calibrated thickness field and select SET to lock in the value.
- Switch to automatic control.
