Surveying Meets Scanning
Conventional surveying, high-definition laser scanning used to as-built survey a challenging specialized five-story oil vessel
Dale Stockstill & Associates (DS&A), a leading provider of surveying, mapping and laser scanning services on the Gulf Coast, had to come up with some way to provide as-built dimensional control for a five-story accommodation module and helipad — a vessel that serves as living quarters for oil workers and features amenities including kitchen and dining facilities, locker rooms, a hospital and a library. With the help of laser scanning, DS&A pulled it off.
QCI Marine Offshore, Pascagoula, Mississippi., tasked DS&A with the difficult project. Determining whether or not such a vessel was constructed according to specified 3D design tolerances was challenging, due to the flexural forces of the steel, malleability of the steel under welding and the difficulty of access. Also, crews were installing walls, air-conditioning ducts, piping and cable trays while the as-built surveying was to occur, and the sheer size of the structure made surveying difficult.

Determining whether or not such a vessel was constructed according to specified three-dimensional design tolerances was challenging, due to the flexural forces of the steel, malleability of the steel under welding and the difficulty of access.
Helipad scanning came first

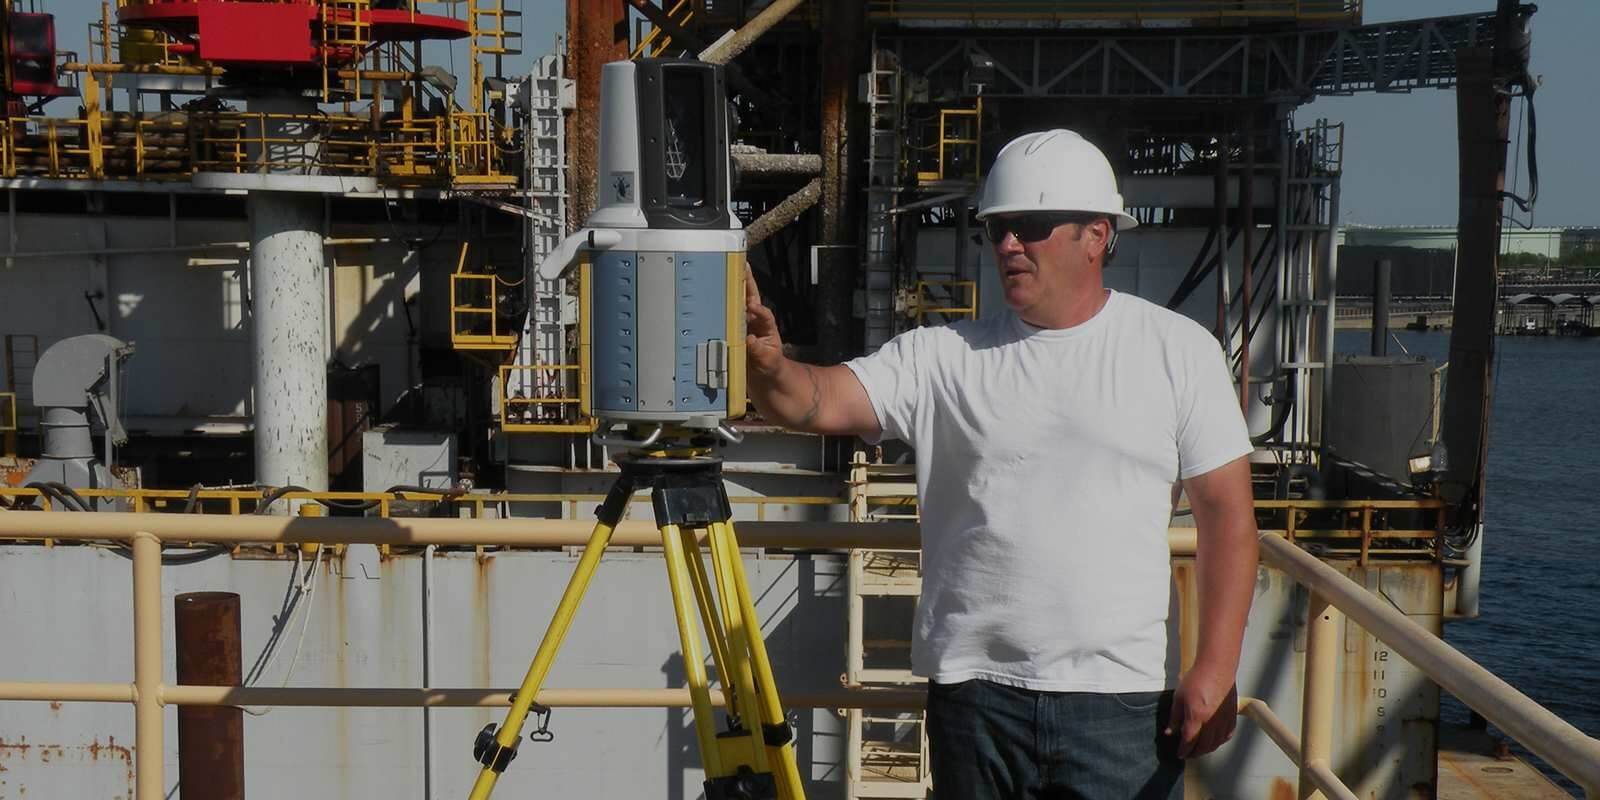
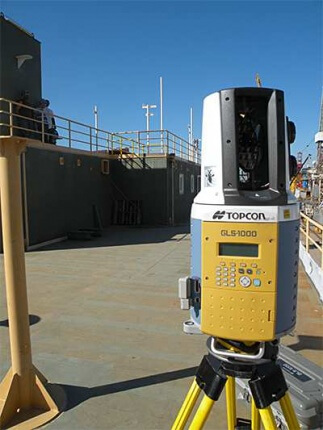
The first phase of the project was scanning the recently completed helipad. After carefully choosing and tying in his scan positions, the crew chief of DS&A’s scanning crew performed the necessary scans using the GLS-1000. After the scans were registered, DS&A’s technicians provided 2D control drawings to QCI in addition to introducing the client to color mapping, which provides a visualization of design deviations. QCI provided DS&A with a 3D model of the helipad. This model was inserted into DS&A’s PolyWorks software along with the registered point cloud. A best fit between the cloud and model was obtained and the resulting deviations were depicted in a color map.
Next, DS&A provided a precise 3D dimensional survey of the five-story steel vessel. The difficulty of the survey was compounded by extremely high-tolerance specifications for some of the required items. DS&A used a laser plummet on the total station to establish four control points that were to start on the top deck and extend downward through all of the decks to the pavement beneath the structure. With the help of QCI Marine employees, the four points were positioned to avoid hitting critical components on the way down. Once finalized, the crew chief set up either the total station or the scanner on the top deck and a hole was drilled in the deck, allowing the laser plummet beam to pass through to the deck below. This procedure was repeated, with a crew member setting a PK nail at each position, until the beam hit the pavement under the structure. A closed traverse loop was run around these four points and was later adjusted and balanced out using standard survey procedures.
The crew then used its Topcon digital level to establish precise vertical control for each control point on all decks. Starting at a previously established benchmark, the crew alternated between standard and inverted level rod shots. The standard rod was used to obtain the instrument HI (height of instrument) and the inverted rod was used on the overhead deck. After obtaining the precise elevation of the overhead deck, the survey crew chief would add 6 mm (the thickness of the deck), move to the next level and repeat the procedure.
This procedure was repeated for all four control points until the crew reached the top deck. Setting up on each deck level required the crew to communicate by radio. The crew member on the ground below guided the instrument operator as he positioned the total station, making sure that the laser plummet was precisely over the PK nail on the ground. Once the control was established, precise measurements were taken on specific beams, frames and bulkheads using DS&A’s total station, laser scanner and even a certified tape measure.
Starting at the closed control loop under the structure, the crew set “flypoints” for scan positions out in the shipyard. The structure was scanned on all four sides and top and the clouds registered in Topcon ScanMaster software. To determine the global control measurements, the point cloud for the structure had to be reduced to a precisely measured box that could be measured on each side for length, width and squareness. A ScanMaster routine provided a “best-fit plane” along each side of the cloud. These planes were intersected to establish the corners of the box. Deck heights were confirmed and checked from welds and plates visible on the scans. The ends of beams located from tape placed on the bulkhead prior to the scan were checked against those located inside using the total station and a tape measure.
Bulkhead wall images provided
The last deliverable provided to the client was color maps of the bulkhead walls, which showed the amount of “hogging and sagging” in the bulkheads. The client provided DS&A with its 3D model of the structure and DS&A broke the model into the individual components that were to be color mapped. The model of a given section and the cloud were placed together in PolyWorks, a color scale was chosen and comparisons were made. Along with PDFs of the color mapping, the client was also provided with the cloud and model data to view in a PolyWorks viewer.
The color map that DS&A presented to QCI revealed a color-coded picture of the structure represented by different colors for each specified measurement range. According to QCI, the color-coding was greatly beneficial because that allowed QCI to define the deviations to a structural engineering firm to analyze the as-built structure in a global structural analysis in order to certify the integrity of the accommodation module.
