UAS Preparation - External Base RTK Setup
- Place both the GNSS Receiver and UAV under open sky GNSS conditions.
- Open MAVinci Desktop. Create/Open a session.
- Power on the GNSS receiver.
- Power on and Connect to the WLAN Connector and UAV in MAVinci Desktop.
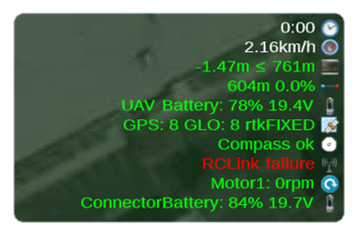
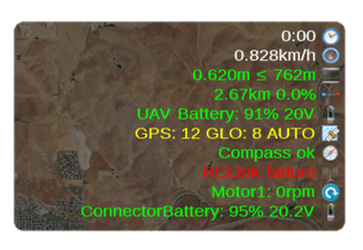
- Allow both the GNSS Receiver and UAV to track GNSS satellites for approximately 10-15 minutes.
-
Connect the external GNSS receiver to the user’s PC via a Bluetooth or Serial Cable connection.
- Note the COM Port being used for serial connection.
- Download and Install the latest version of TRU from Topcon TotalCare for the PC.
- Open the Topcon Receiver Utility (TRU) software.
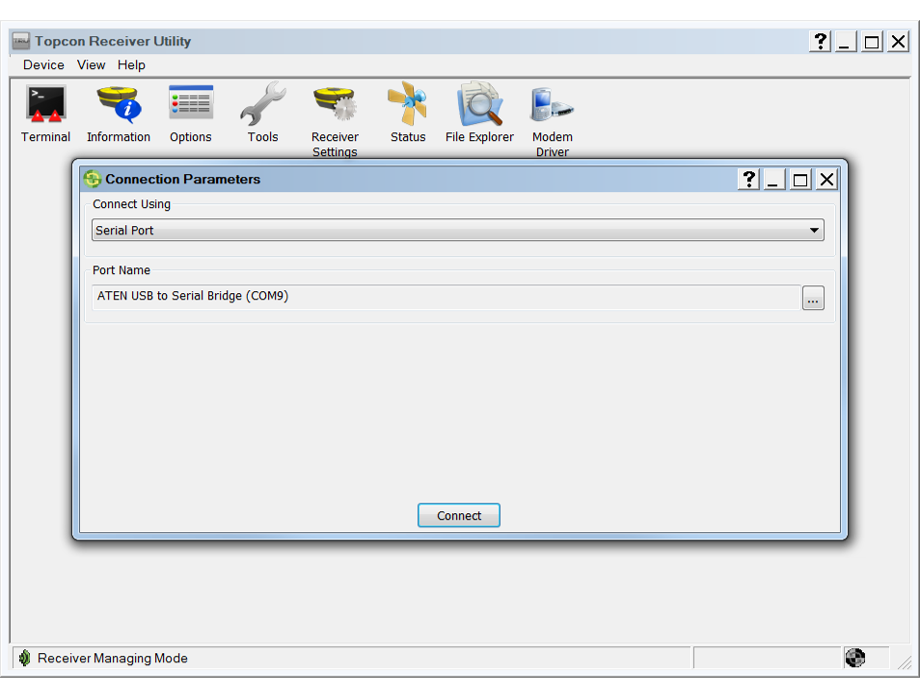
- Select Device – Application Mode – Receiver Managing. Select Device – Connect.
-
On the Connection Parameters screen, select the following:
- If using a serial cable connection, select the configuration button, and select the correct COM Port the receiver is connected to on the PC.
- If using a Bluetooth connection, select the configuration button, and select a previously used receiver or add a new receiver to connect to via Bluetooth.
- Note that you cannot use the same receiver port being connected to in order to configure the receiver to output RTK corrections on that same port.
- Once finished, select Connect to connect to the receiver via serial cable or Bluetooth.
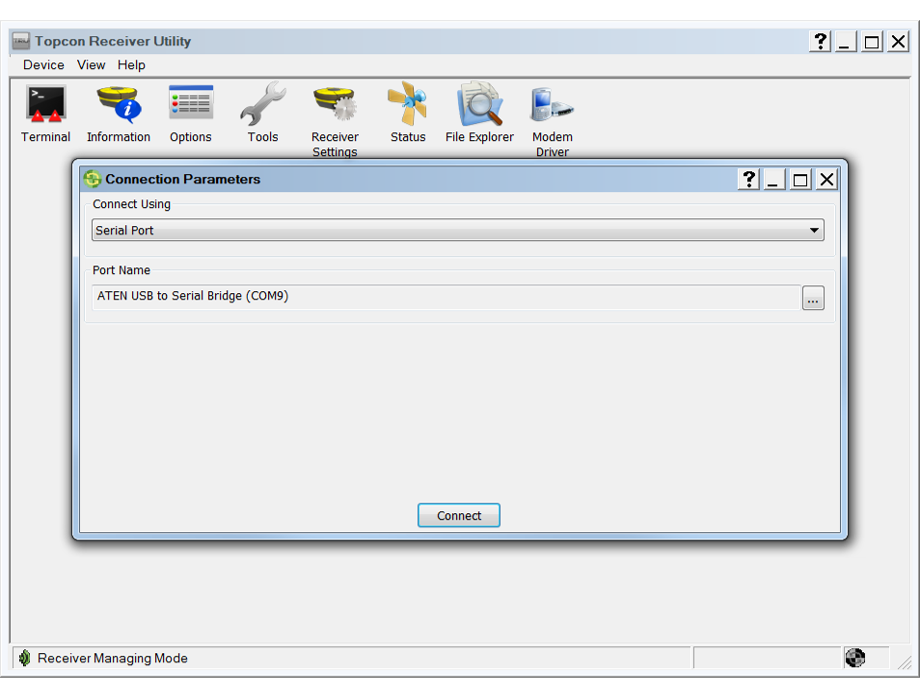
- Once connected to the receiver, select Receiver Settings – Tracking and Positioning.
- Select the Base tab.
- Select the antenna type from the pull down menu.
- Select the Base Station Coordinates as Antenna Reference Point.
-
Select the configuration button, and select Get from the receiver.
- Average the receiver position for 60s and click Ok.
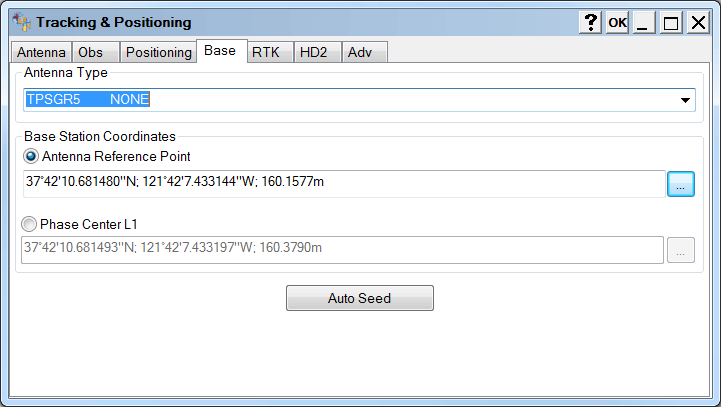
- Once the antenna type and position have been configured, click Ok.
- Select Ports.
- Double click on the receiver serial port that will be used to stream RTK corrections.
-
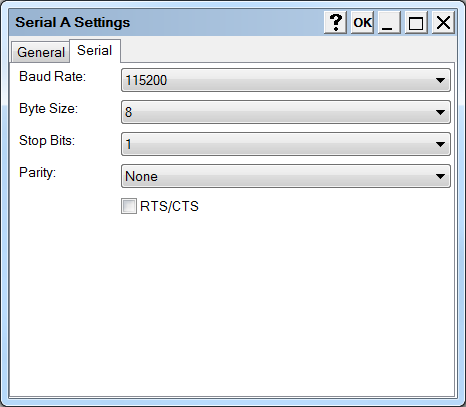
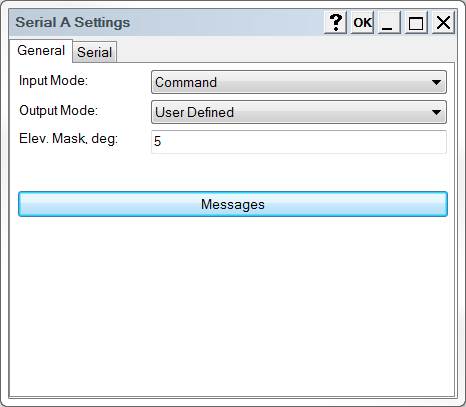
Select the Serial tab of the serial port settings screen. Confirm the following settings:
- Baud Rate – 115200
- Byte Size – 8
- Stop Bits – 1
- Parity – None
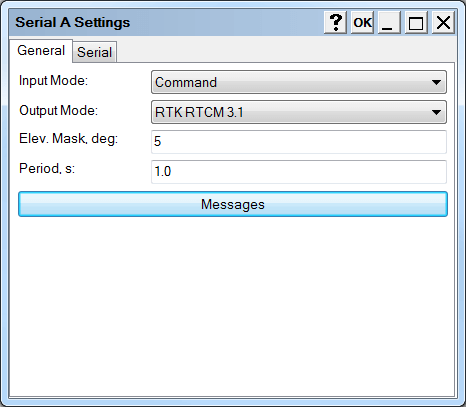
- Select the General tab of the serial port settings screen.
- Select the Output Mode as RTK RTCM 3.1 (3.x) from the pull down menu.
-
Select the Period (s) to output RTK corrections.
- For serial connections, enter 1.0 seconds.
- For Bluetooth connections, enter 0.5 seconds.
- Select the Messages button.
-
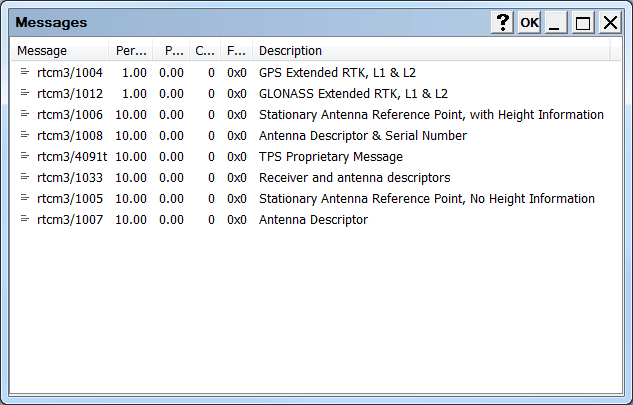
Confirm the following RTCM 3.1 messages are active for MAVinci Desktop:
- 1004, 1005, 1006, 1007, 1008, 1012
- To add new messages to output, right click on the Messages window and select add new messages.
- Expand the rtcm3 list. Double click on all the required message types. Once finished, click Ok.
- Confirm all the required messages are now active on the receiver. Once finished click Ok.
- Click Ok on the serial port settings screen to save the settings to the receiver.
- Exit the receiver ports screen.
- Select Device – Disconnect.
- Close TRU.
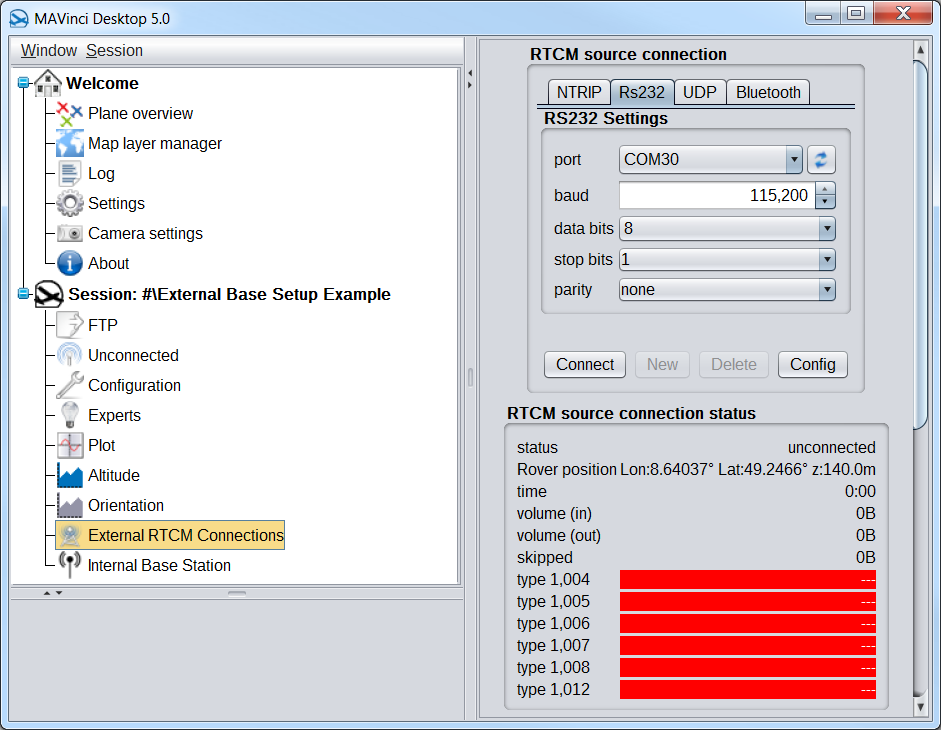
- In the MAVinci Desktop session, select the External RTCM Connections option.
-
Under the RTCM source connection section, select the following:
- If using a serial connection, select the RS232 tab.
- If using a Bluetooth connection, select the Bluetooth tab.
- If using a serial connection, confirm the port settings and select the COM Port the receiver is connected to on the user’s PC.
-
If using a Bluetooth connection, using the refresh button, search for the Bluetooth device name of the GNSS receiver.
- The device name may display as the Bluetooth address of the receiver and not the serial number.
- Regardless of the connection method, select Connect to being streaming RTK corrections.
-
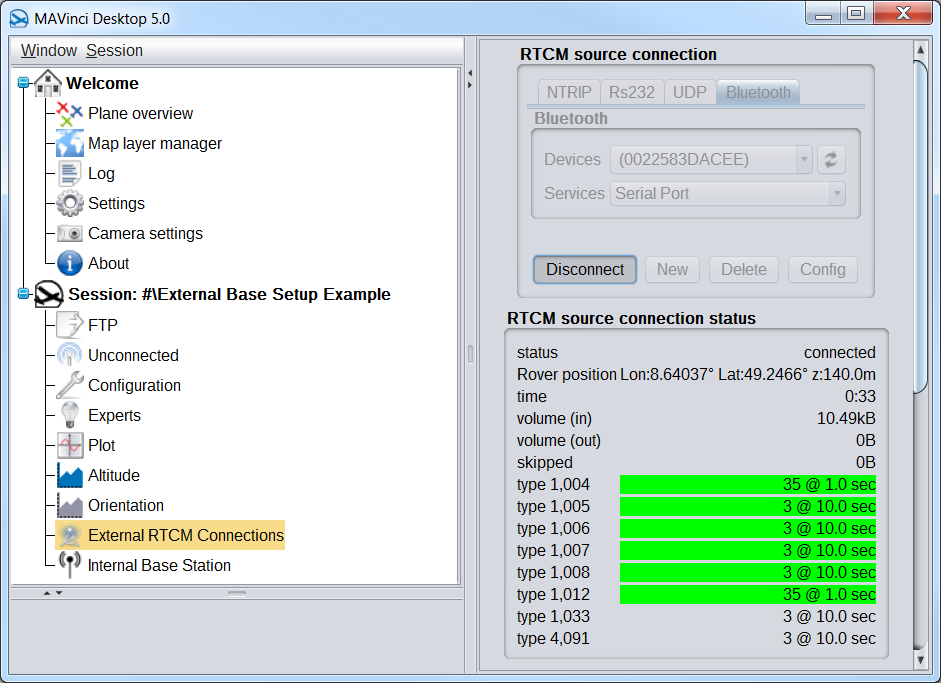
Confirm the following:
- Receiver status shows as connected.
- Number of bytes skipped is not counting upwards.
- Confirm all the required RTCM messages are being received and display as green.
- Return to the Map View.
- Confirm in the UAS status information that the UAV reports an RTK Fixed solution.
