- After completing 3D Mesh Reconstruction for a given photo block, 3D Point Cloud generation can be performed.
- Select the General tab for a given Reconstruction.
- Select Submit new production from the bottom right of the screen.
- Enter a name for the production and select Next.
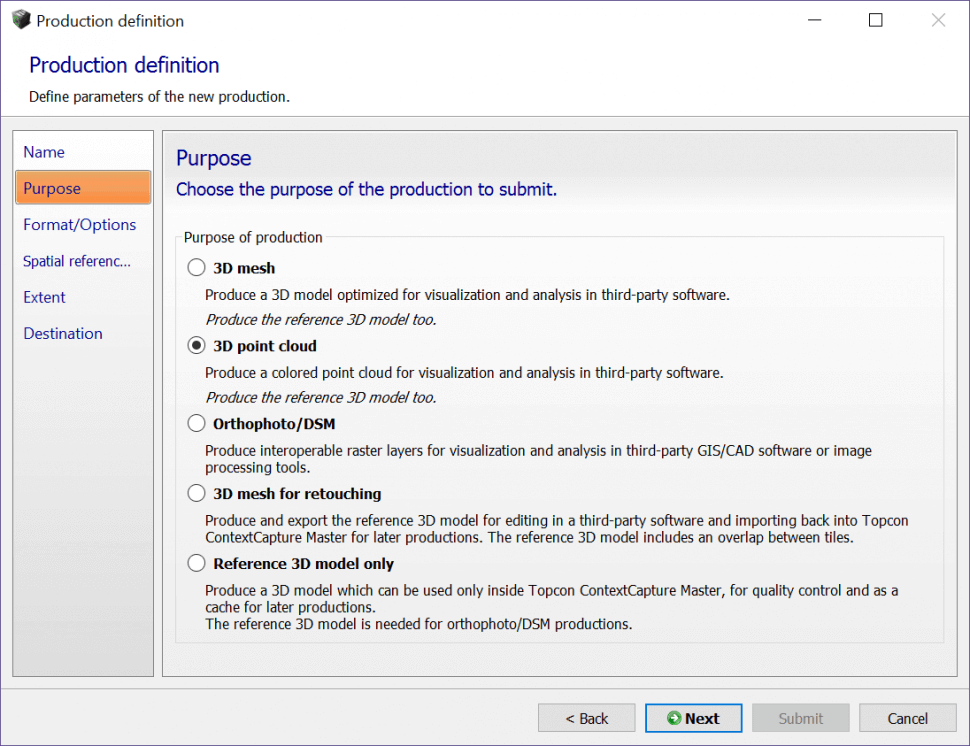
- For the purpose of production, select the 3D Point Cloud radio button.
- Select Next.
-
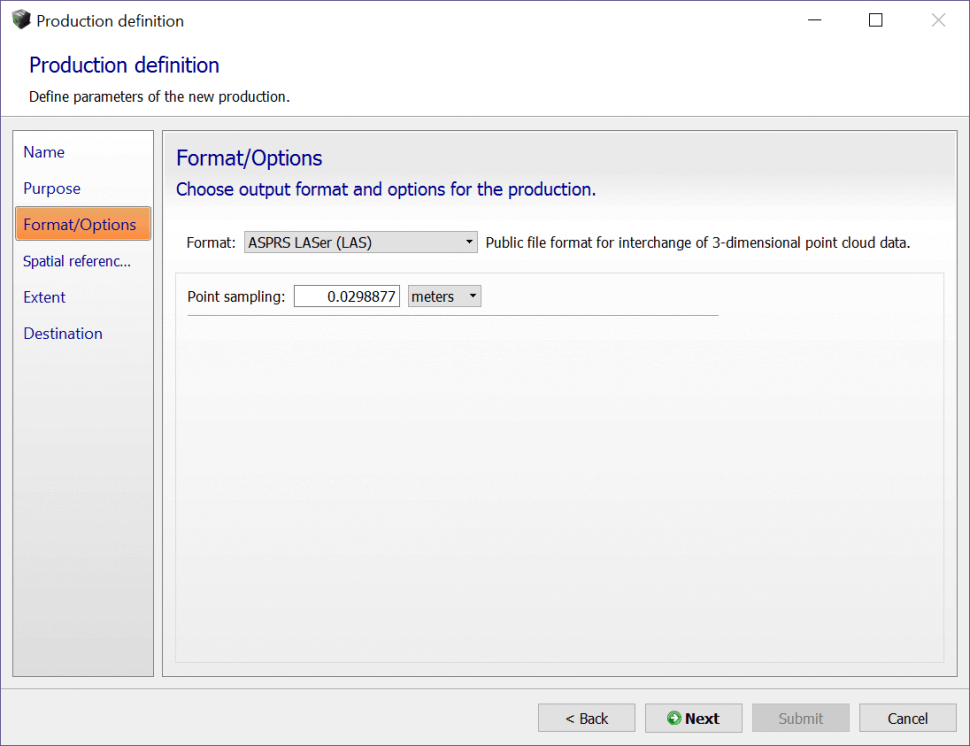
On the Format/Options screen, choose the format the 3D Point cloud will be created in:
- Currently only *.LAS or *.POD formats are supported.
-
If necessary, to decimate the point cloud, enter the point sampling in either meters or pixels.
- By default, Topcon Context capture will set the point sampling to every pixel which will correspond to the ground sampling distance (GSD) of the collected UAS data.
- Once finished, select Next.
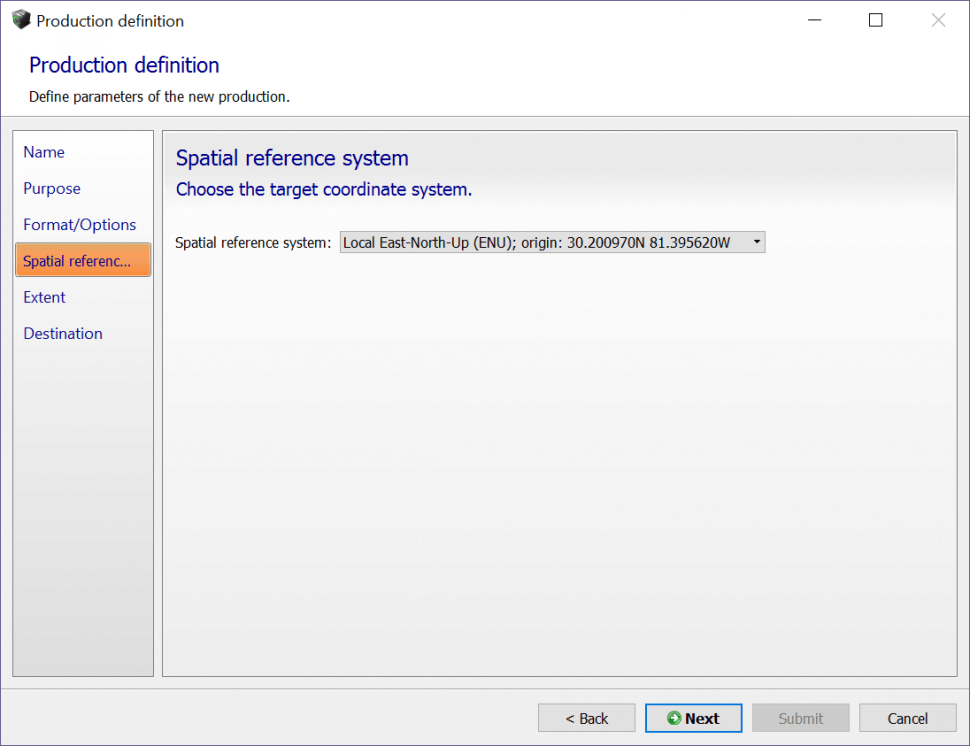
- On the Spatial reference system screen, select the spatial reference system for the 3D Point Cloud from the pull down menu.
- Once finished, select Next.
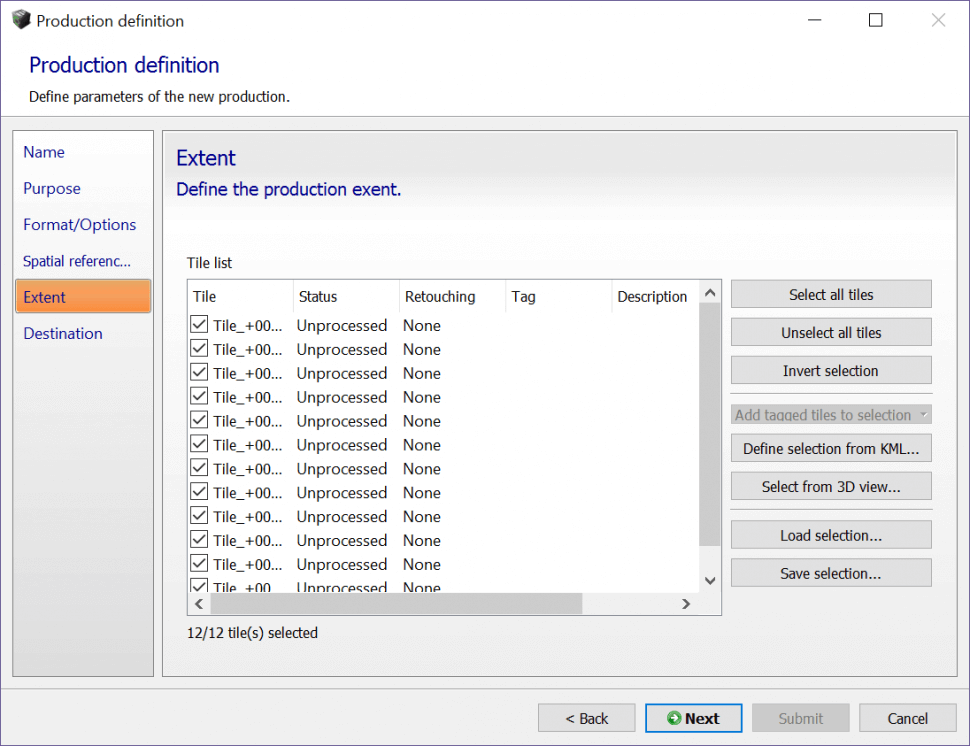
- On the Extent screen, select the tiles that will be used for 3D point cloud generation. All tiles will be generated by default.
- However, if necessary, the user can generate only the specific tiles needed rather than all tiles for a particular dataset to speed up processing time.
- To select or deselect which tiles will be generated as a 3D point cloud, select the Select from 3D View button and choose on the 3D View which tiles to generate.
- Once finished, select Next.
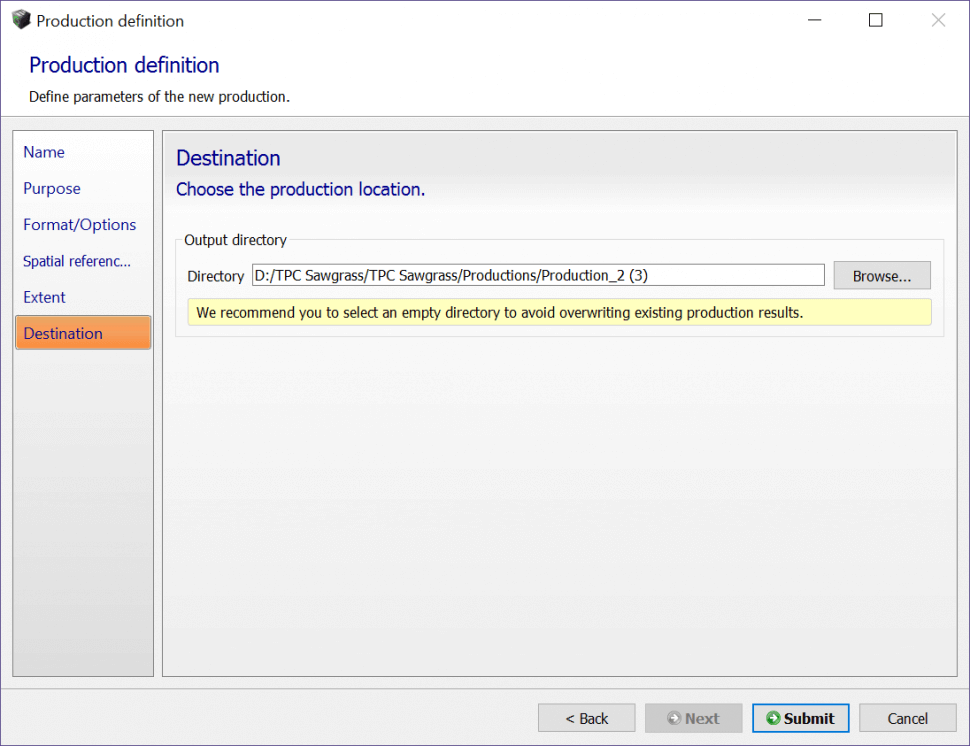
- On the Destination screen, select Browse and navigate to the directory on the PC to save the 3D Point cloud tiles.
- Once finished, select Submit to begin 3D point cloud generation.